It’s been a long haul (the project officially started August 4th, 2011) but my MG Delta Plus has finally been completed. This morning I flipped a coin to see which should come first, my retrospective of the kit or all the pretty photos. Thus, if you’d like to read about the trials and tribulations of this build continue on. If you’d just like to scope out the pretty pictures just jump forward to the latter section of this article!
The New Year’s Curse
Two years in a row I’ve begun projects that have drawn out and lasted far longer than they should have, stepping the gap from one year to the next. I’ve come to know that as the New Year’s Curse. My Delta Plus was afflicted by this curse much in the same way as my PG Strike Freedom. Random issues with paint, increased complexity over normal builds, poor weather, and of course general incompetence on my part.
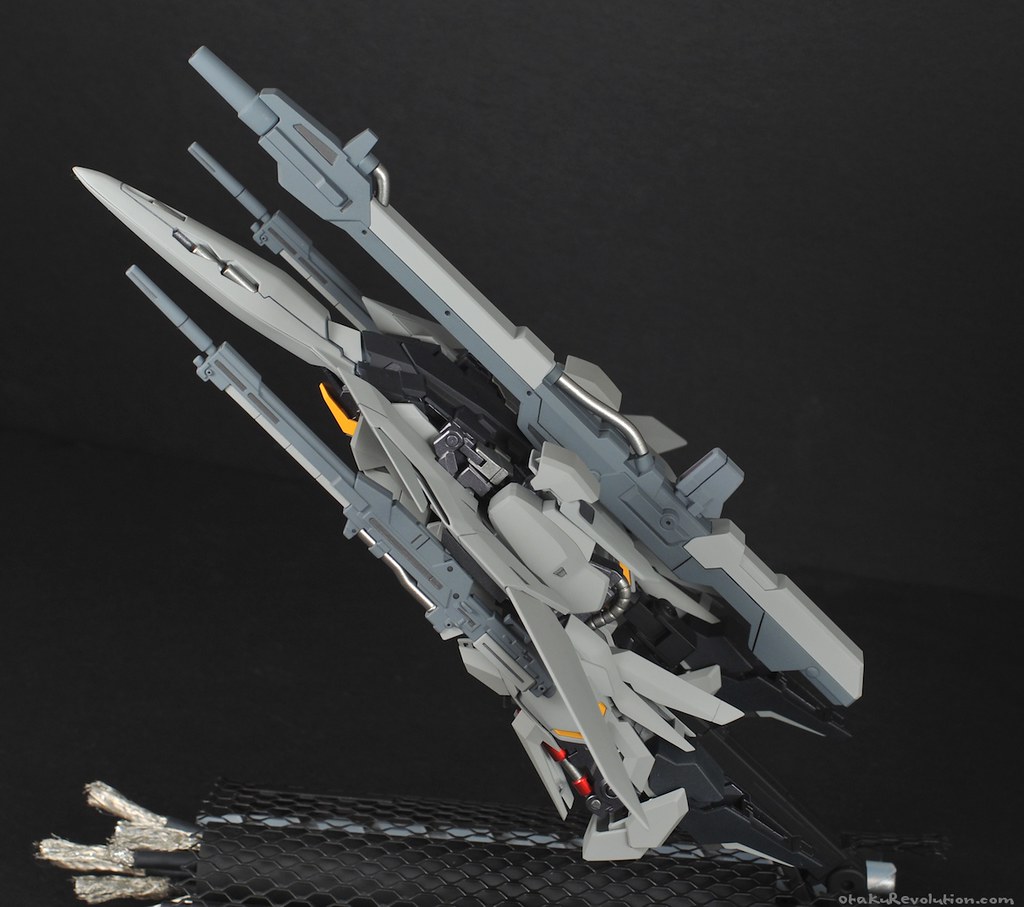
The MG Delta Plus was originally slated to have a German WWII bomber inspired colour scheme. In addition to the colours that it sports now several pieces were intended to have contrasting camou patterns. From one part to another, from one pattern to the next, I had issues. A lot of pieces on this kit had to be sanded down and repainted a few times. The cod piece got so messed up that I had to reconstruct it with some plastic plating. The camou on the lower leg pieces never really came out like I would’ve wanted and I was forced to repaint, then repaint again when parts chipped during install. On the wings (and various other parts of the kit) I tried scribing for the first time. Being pretty anal about things I hated how they looked so I ended up filling most of them back in.
"Everything Went Better Than Expected"
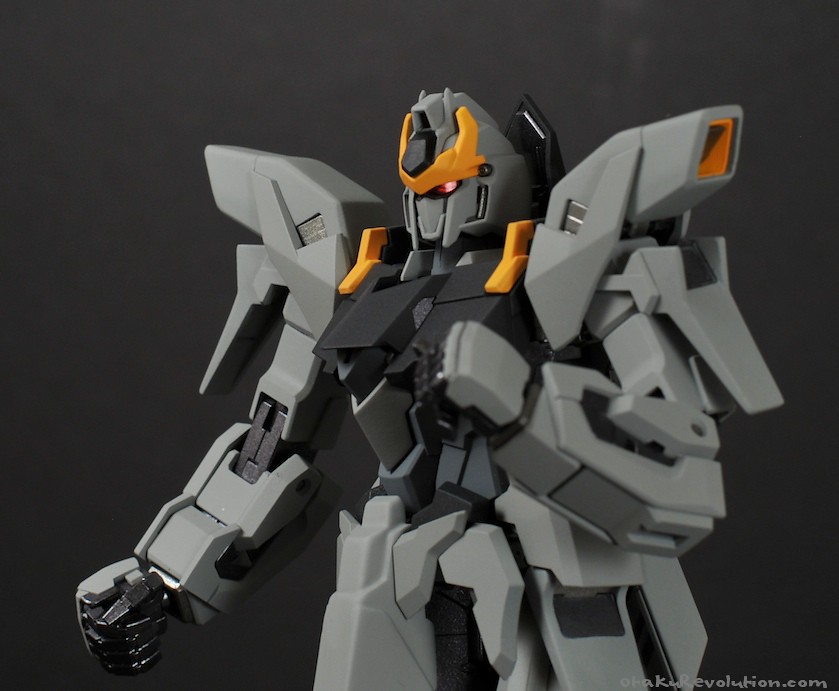
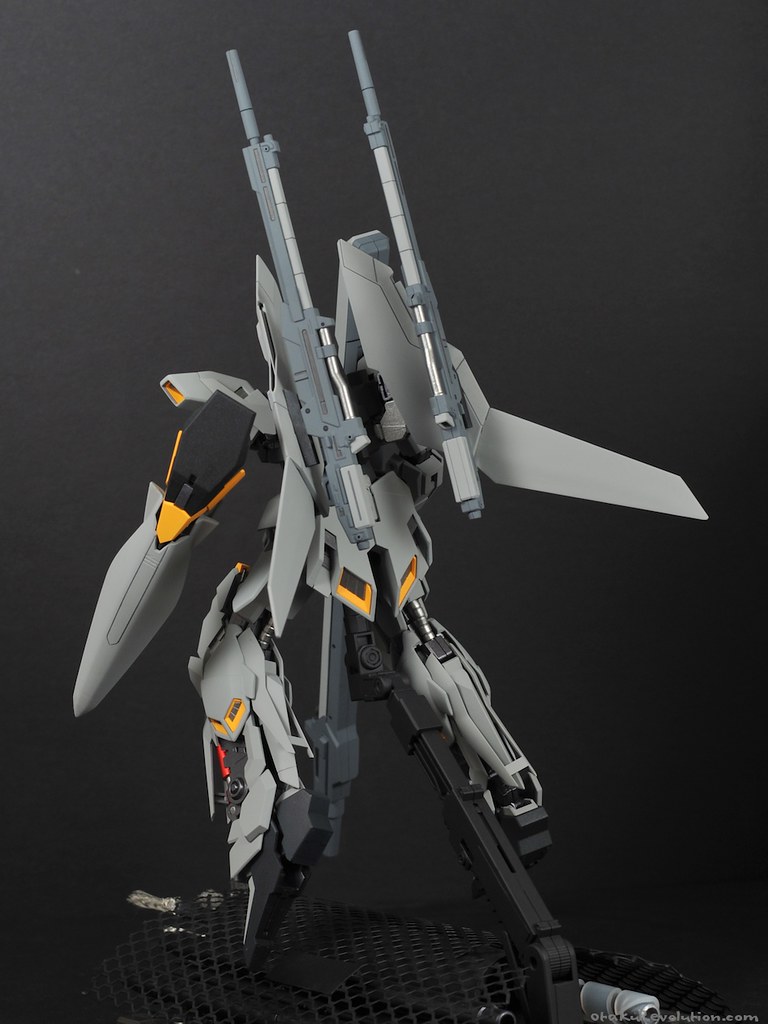
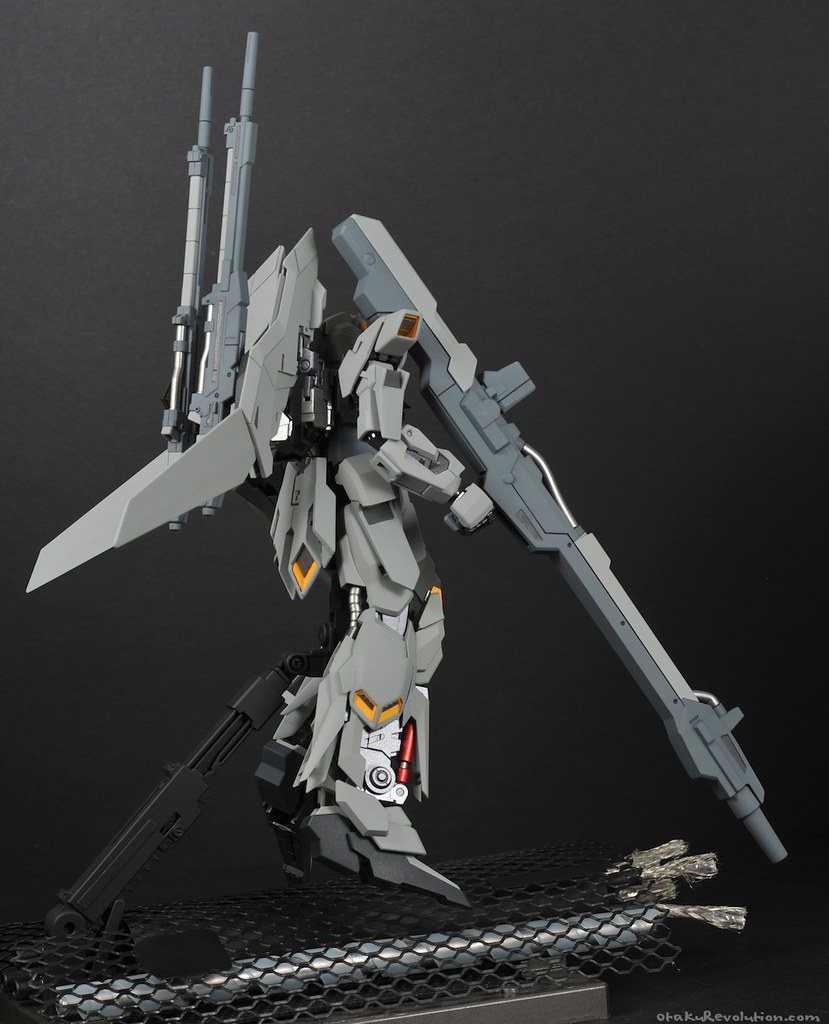
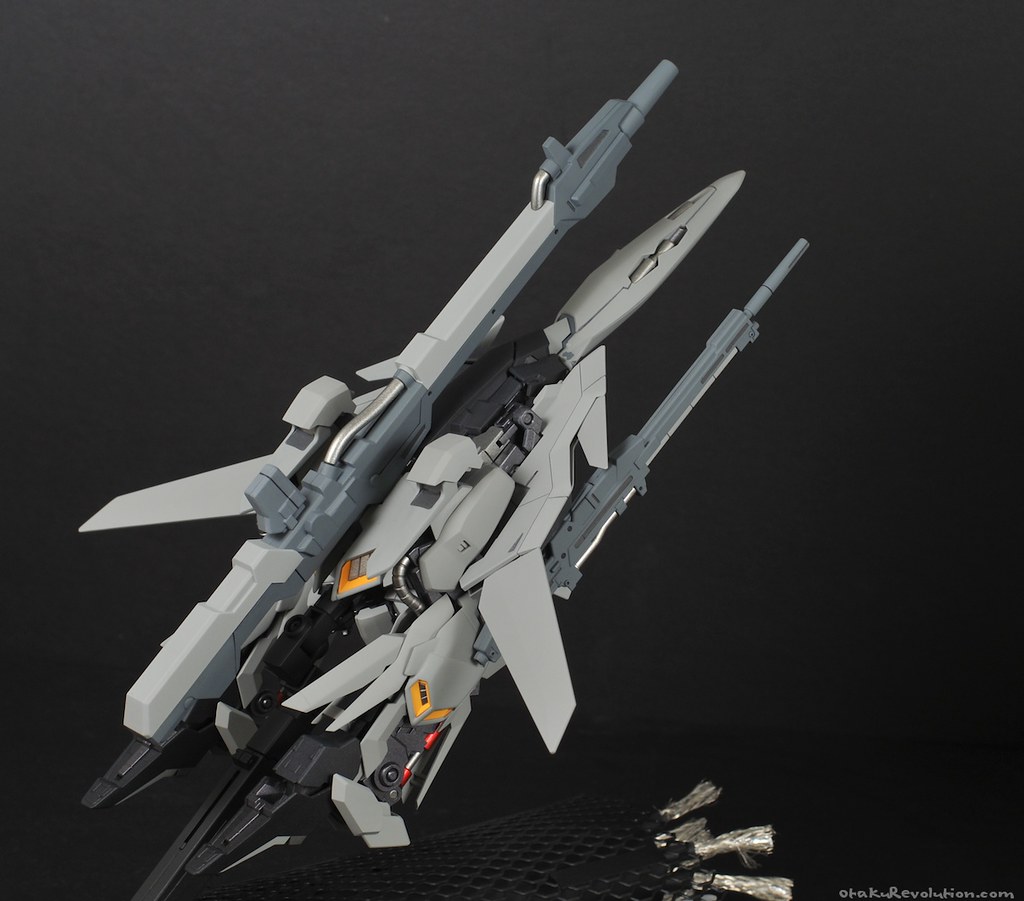
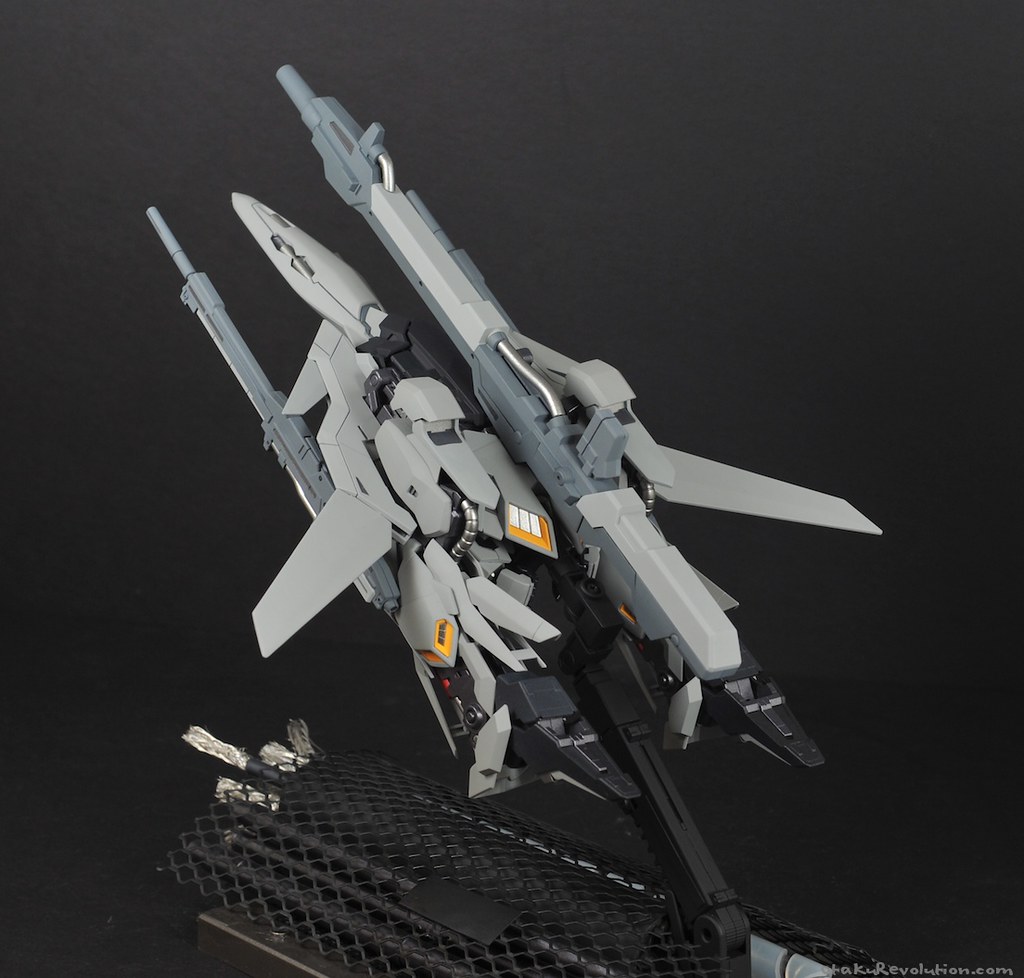
Okay, not everything, but quite a bit. I’m really pleased with how the colour separation on the internal frame turned out. The bulk of the frame is coated in Tamiya’s Gun Metal paint (as seen on my MG Banshee) with key parts in a Krylon silver (same silver used on my recent MG Nemo). To add a bit of contrast, Tamiya Clear Red was used on the beam sabers, visor, sensors, and leg pistons. The key for getting the great red on the piston was a base coat of gold, not silver. Silver looks great but gold adds an extra layer of warmth to the color.
The main gray on the kit was Tamiya’s AS-2. Specific to the Imperial Japanese Navy I picked the colour simply because I liked it. In the end it looks really good on the kit and goes really well with the black trim and yellow highlights (Tamiya Camel Yellow, which I love and have used on many a v-fin).
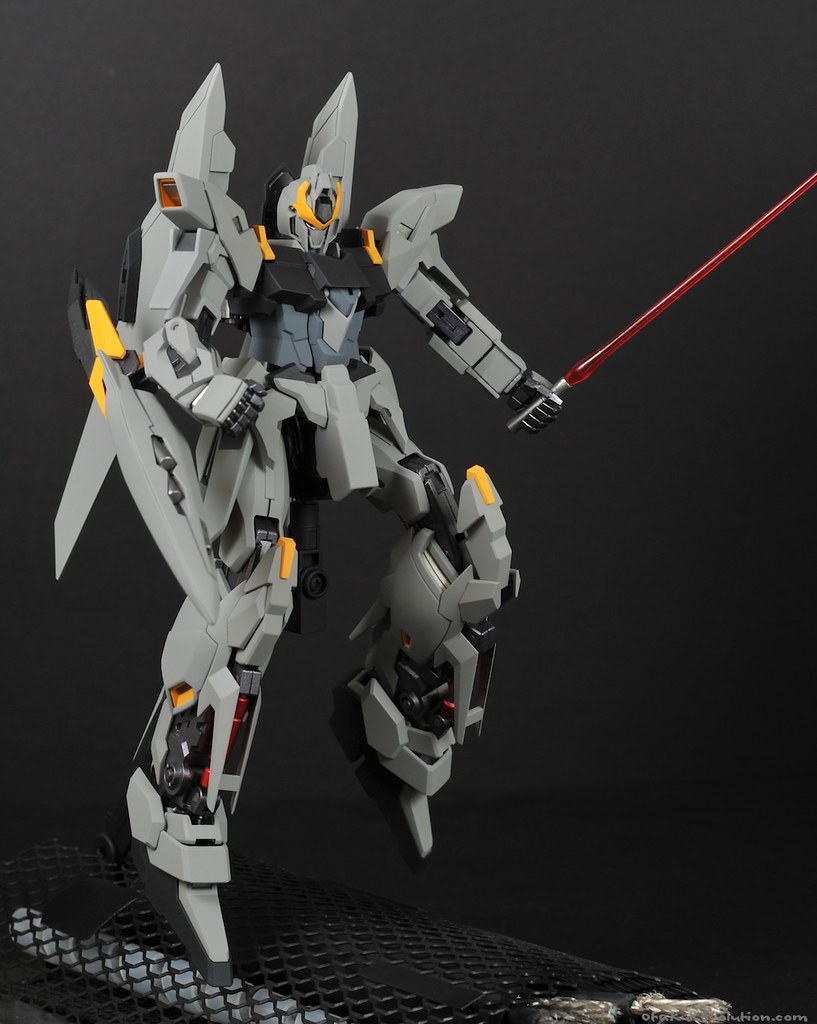
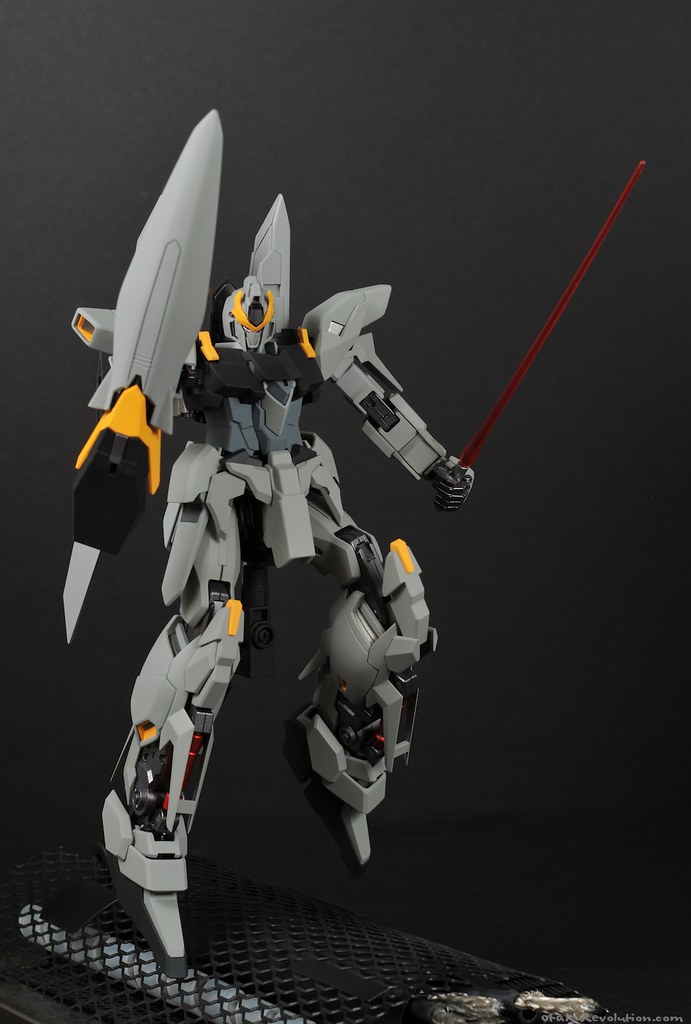
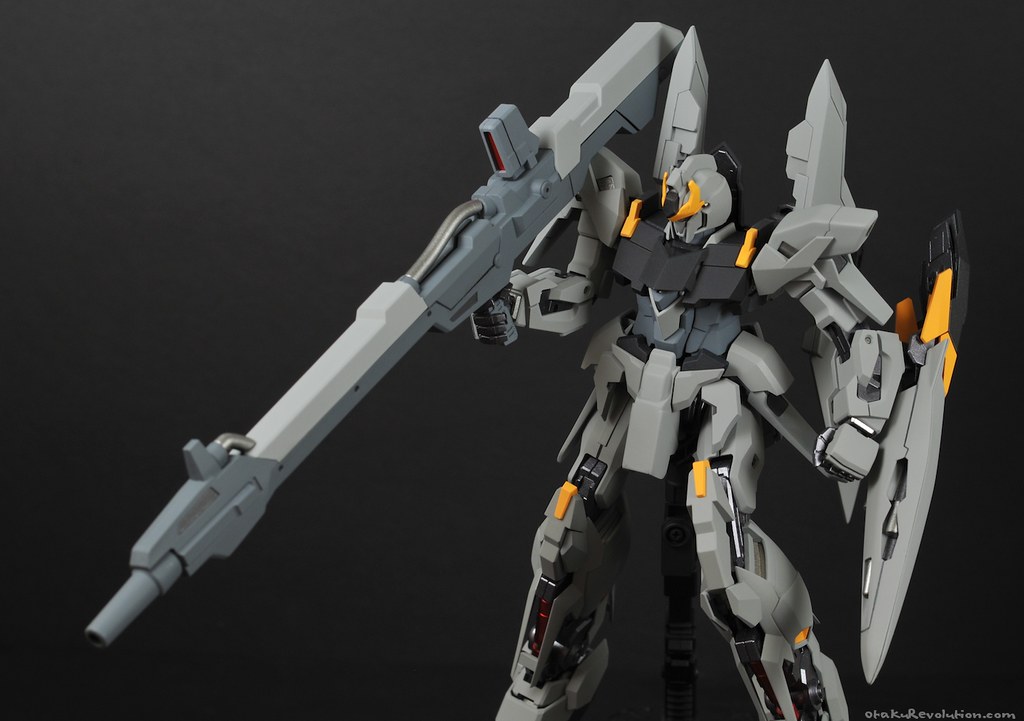
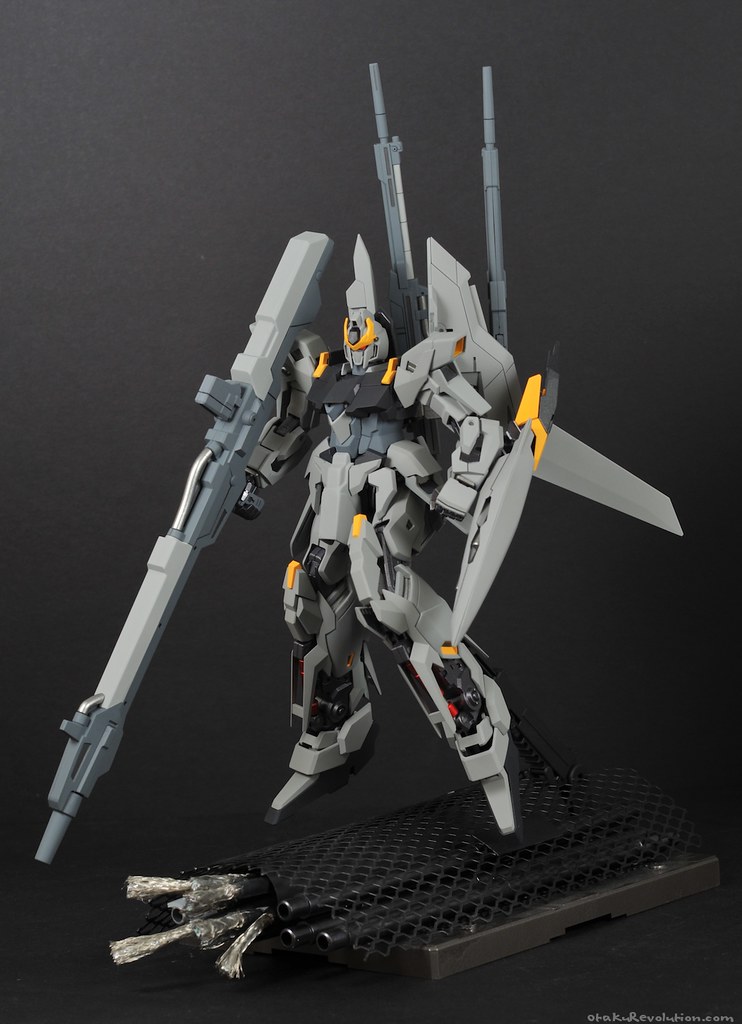
I wasn’t really sure how to paint the weapons and ended up accidentally doing them in a scheme opposite to the rest of the kit. In the end I think they look really slick and look damn good with the rest of the mobile suit. I would like to thank Patrick Grade for the secondary beam rifle and Shaid for being generous enough to part with his ReZEL’s BFG.
To allow Delta to hold onto the BFG I drilled a hole in the handle and into the hand so I could add a piece of plastic runner as a supporting rod. This is why my Delta Plus is seen holding the sword in its left hand. I also covered up the opening underneath the BGF (where the gun mounts to the ReZEL) and removed the odd side optic in favor of the added symmetry. Additionally I removed the flask (not sure if that’s the best word) under the gun’s tubes to match the look of the normal rifles. In all I feel like the BFG wasn’t designed too well. Corners were cut and it’s lacking in detail compared to UC standard rifle.
Dat Base

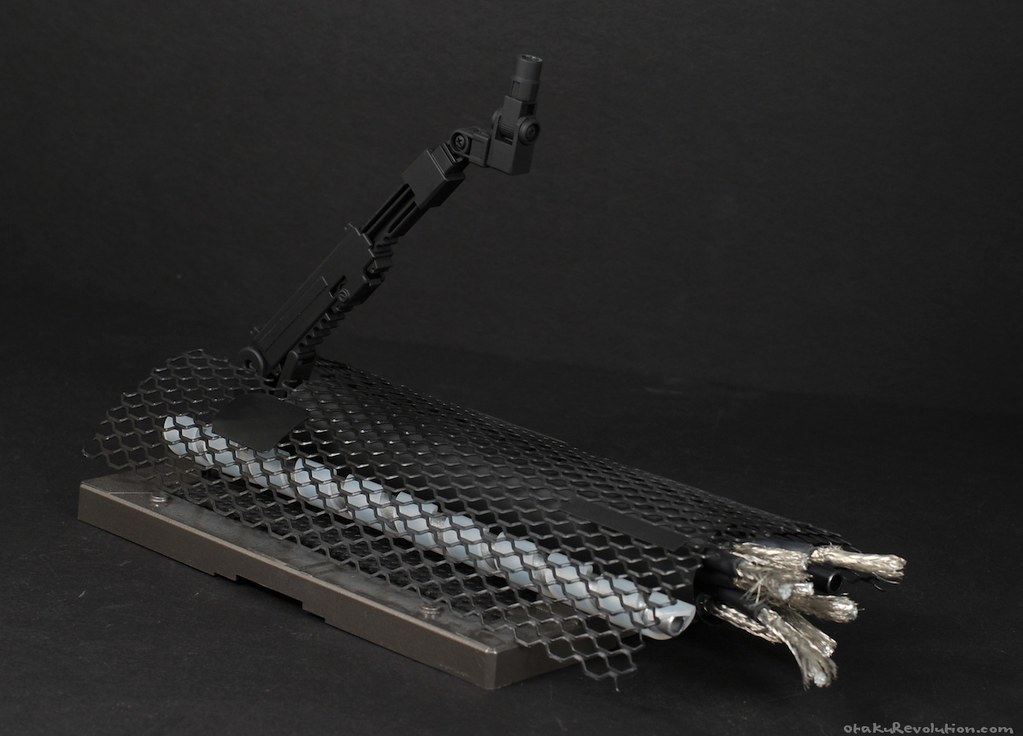
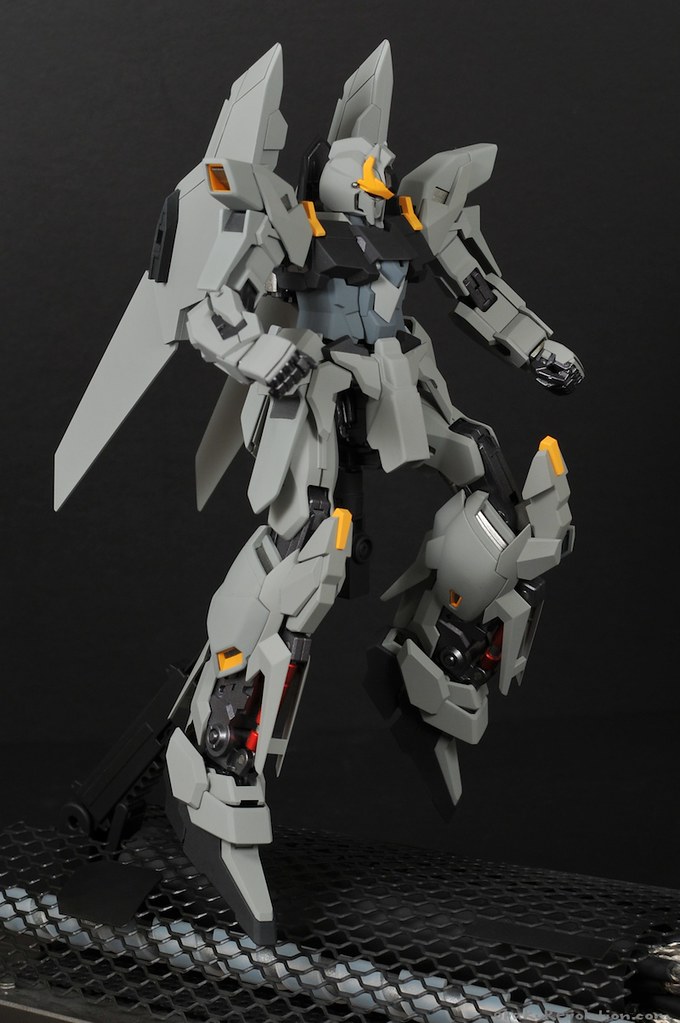
Another new element of this build was the custom base. Starting with an Action Base #3 and added various scavenged parts.The mesh part was left over gutter protector, the smaller tubes are pens glued together and painted, while the large tube down the center made of thick cardboard covered in plastic sheeting. The wires coming out the center are leftover from work.
The base itself is coated in some RustOleum pitted metal spray (forget the proper name) which looks really nice but seems to scratch easily. Mesh coating is held in place with magnets (I had originally intended to drill and set them into the plastic but forgot and put down too many coats of the RustOleum before I realized). There’s also a another bit of perforated plastic in the center of the piece that you can’t really see in the photos. Not exactly the greatest base by any standard but a good start if I do say so myself.
Photos
And now the moment you may or may have been waiting for, the photos!