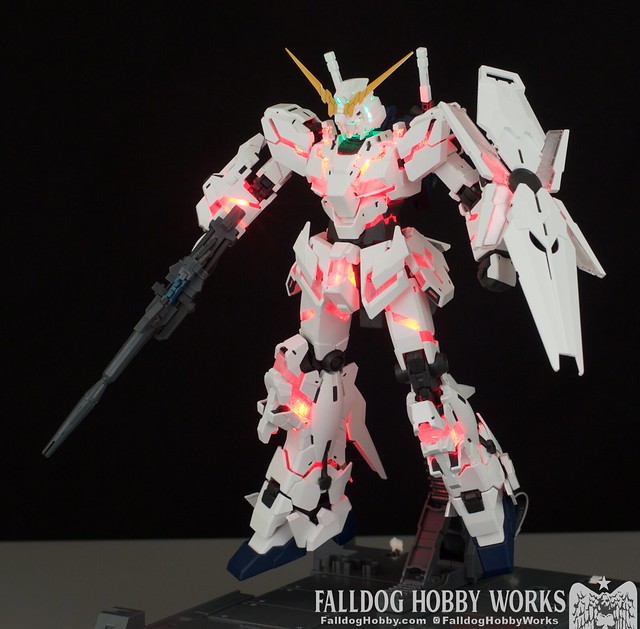
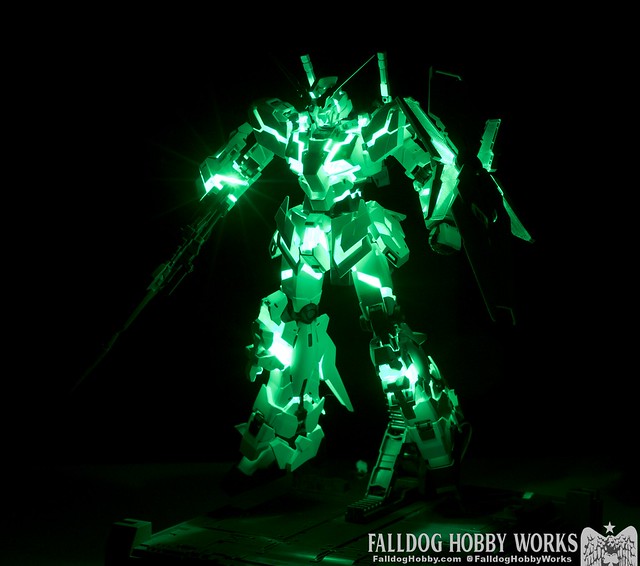
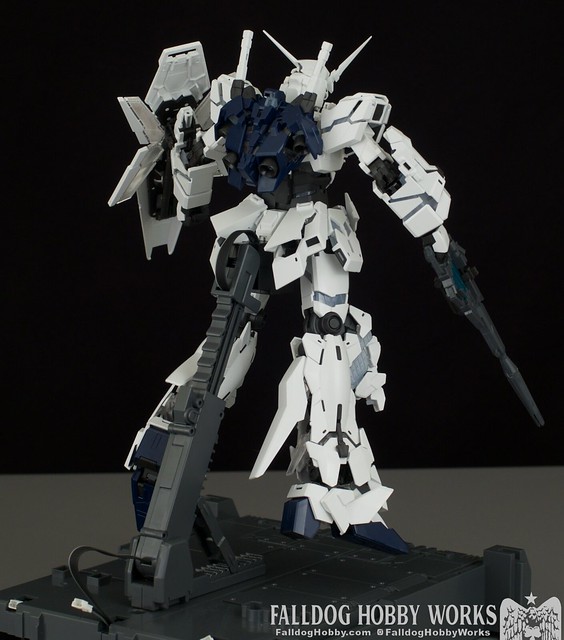
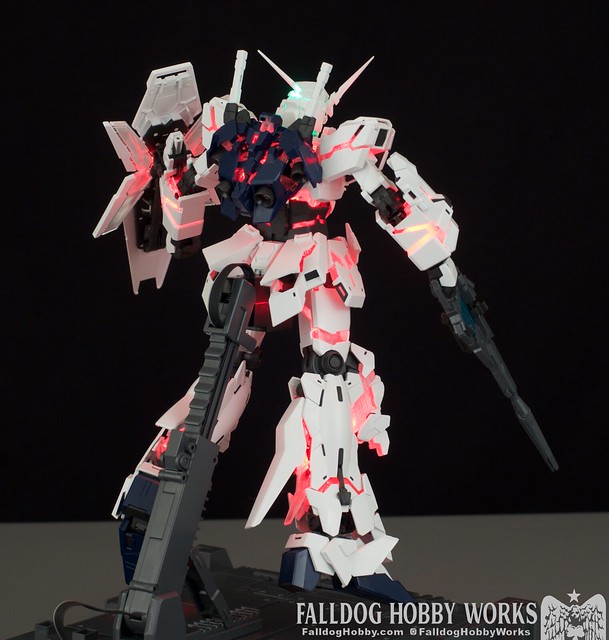
Yeah, yeah, I’m late to the game with my MGEX Unicorn review. Even so I wanted to take some time, since I have an interesting perspective (read: I've built a lot of Unicorns - note, that's three years old at this point), and the MGEX Unicorn is a kit very worthy of discussion. I’m not going to go into all the ins and outs of the build, so if you want a super detailed look pair this with Dalong’s review. I’m sure there are some good YouTube reviews out there by now too. What’s up guys, Rick Dias here…
First off, let me say that this is not an easy build. It’s not hard, but it takes patience, a certain level of understanding of the LED strip mechanics, and a bit of faith in the instruction manual. “Wait, you want me to take this LED strip that’s the bulk of this kit’s price and bend it 50 times, often at 180 degree angles? Okay, sure.”
A brief history of Gunpla LEDs
It’s been fun to see the evolution of Bandai’s integrated LED solutions. Back in the day you had your old PG kits with a bunch of individual connecting bits, which would eventually become the integrated LED hockey puck used for lead and GN drives. Then came the PG Unicorn, with its body wide wiring and central control mechanism.
I don’t want to say that the PG Unicorn’s LED setup was bad… but it was clunky, a pain in the ass to install (largely in part to the transformation aspects of the kit), and overly expensive. Lots of individual wires running around different parts and getting unceremoniously tucked away. While it might feel like the kit just came out yesterday, it was back in 2014. What we’re seeing with the MGEX Unicorn is the result of a 6 year evolution in that technology.
There are still two more key steps between the PG Unicorn and the MGEX, starting with the PG Exia in 2017. With the Unicorn, you’d build a part then go back and wrap all the LED wires through it. The Exia took a different approach where the kit was actually assembled around the wiring. Not only did this allow for a simpler wiring harness but it made assembly sooooo much easier. This change of methodology, driven in part by the lack of transformation gimmick to work around, is why I contend that the PG Exia is one of - if not the - best PG kit.
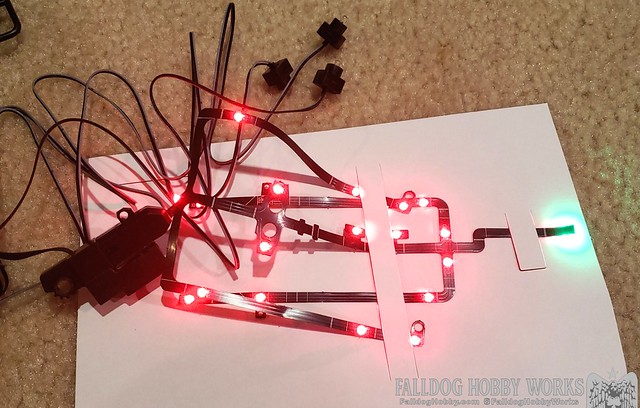
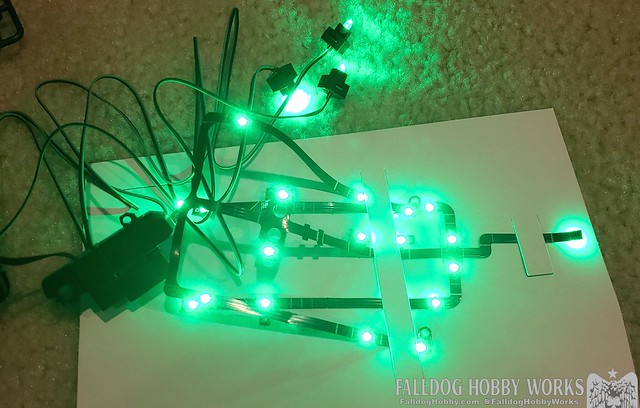
The next step is the RG Unicorn ver TWC Lighting Model. This ‘limited’ Gundam Base release in 2018 saw the first bit flexible and integrated LED strip. Built around the RG, ths TWC version included frosted clear psycho-frame parts and a fixed pose design. This allowed the new wiring harness, basically a plastic sheet with thin metal circuits embedded in it, to wrap through the various parts of the kit. Instead of having LEDs built into small plastic boxes, multi-colour LEDs were built into the harness itself and positioned to direct the light outward.
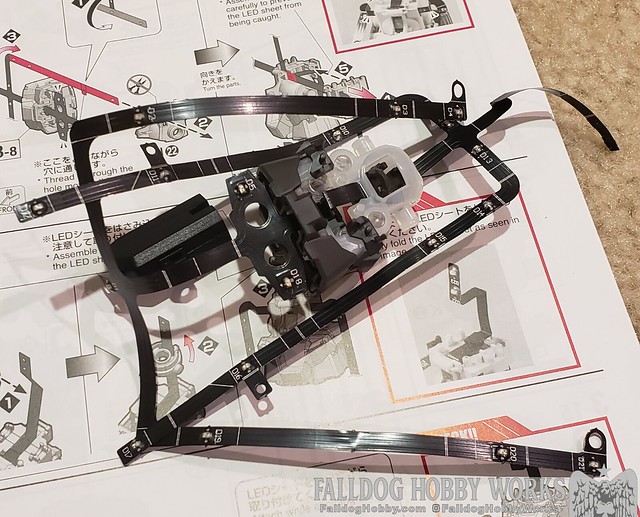
Finally we make it to the MGEX Unicorn who’s LED setup is a lot like the RG TWC, just improved. It’s more durable and designed to be bent for posing and into odd angles around the core of the kit. Like the PG Exia, you also build the kit around the harness, which is where building it can be a bit difficult/annoying - more on that later. The downside to the harness is that it’s a lot harder to fix any issues. Pull or cut a cable on the PG kits? Just solder it back together. Need to repair a LED or circuit integrated into a sheet? I’m not sure where to start. At this time there’s not much information on how durable the harness is. I haven’t broken mine *knock on wood* and I’m only aware of one broken set out there (no info on how it was broken). We’ll find out more in the future when the MGEX starts shipping from US based shops.
Probably one of my favorite improvements is the integrated plug. Instead of just having another wiring harness for connecting the kit to the stand/power supply, there’s a physical plug that sits in the butt and connects into a linkage on the stand. This makes it a thousand times easier to connect/disconnect the kit as testing throughout ensures you don’t build it only to find something completely messed up.
A brief history of Unicorn model kits
I’d also like to take a bit of time to talk about the evolution of the Unicorn model kits, starting with the infamous Master Grade. First released in 2007, prior to the first HG, it brought attention to the titular novel years before the first OVA. The MG Unicorn isn’t a bad kit. Yes, I’m probably a bit biased here, but bear with me. What are the MG’s greatest flaws? Looseness in the pyscho-frame transformation (which is easily mitigated) and limited articulation.
Both of these stem from the core gimmick of the kit, the ability to transform between unicorn mode and destroy mode. Transformation gimmicks have always been the weakest part of many a Bandai kit. It’s not something I fault them for - it’s an inherent difficulty of taking a 5-8 inch plastic model kit and finding a way to make a generally static design something that can shift its overall appearance.
Now consider the MG Unicorn ver Ka. This is a kit that needs to transform in a way that exposes inner workings of nearly every part of the kit - all without taking anything apart or setting aside parts. Remember that this kit, the ver Ka release, came out amidst a bunch of fantastic kits that didn’t have to deal with such an elaborate gimmick. The Zaku 2.0 came out earlier in the year and the RX-78-2 2.0 wouldn’t come out until mid 2008. In my eyes the MG Unicorn is one hell of a piece of model kit engineering.
While Bandai would later update the MG Unicorn with the OVA release, improving a bit of the articulation (ver Ka will always be my favorite over the OVA if only for the light gray frame), a lot of the design/engineering choices in the MG have carried forward. Through the PG, then RG, and now the MGEX, a lot has stayed the same and the improvements mostly subtle - but totally welcome. Some would decry the PG for being an upscaled MG (I may have said something similar), but these days I just see it as a testament to how well thought out the original MG was.
Wait, weren’t we here to talk about the MG EX?
The MGEX Unicorn is at the end of a long line of Unicorn kit improvements. Both in the gimmicks, tweaks to the design, and overall ease of use.
While a lot of pieces are identical to the MG, or take from the styling of the PG, there’s quite a few improvements and small tweaks that many folks may miss…
- There’s side-to-side and forward-to-back articulation to the torso now, as well as much better articulation on the legs and arms. RG is still most posable though.
- The flaps on the front skirt armor just slide in like the RG instead of the clunky hinge system on the MG/PG
- A little bit on the bazooka’s magazine mounting mechanism that keeps the thing in place (fucking finally)
- The white edges of the shield’s pyscho-frame are now connected directly on the end, no visible connection pieces showing through. Unfortuantly it's twice as thick as before and out of porportion to the shield
- The knee psycho-frame and the back-of-leg thruster components are not mechanically connected. To keep the knee piece out there’s a latching mechanism on the side armor!
- The connection points for the armor flaps on the side of the ankle now move independently
- Various internal bits that, instead of being straight the base plastic, are separate frame pieces (like the PG)
There are also some cool style changes, like the texture on the psycho-frame of the shield and antenna like things on the torso (just like the Nu ver ka).
Enough about the design, how was the build?
As I mentioned before building the MGEX isn’t particularly easy, nor is it for the faint of heart.
Since the wiring harness is a single unit up front you have to build the kit around it. Assembling the torso first, then legs/arms/head. The perspective in the manual shifts quite a bit as you often have to add parts in different orientations. This is especially annoying when doing the torso as the limbs just flop around the entire time like one of those inflatable noodle fellows.
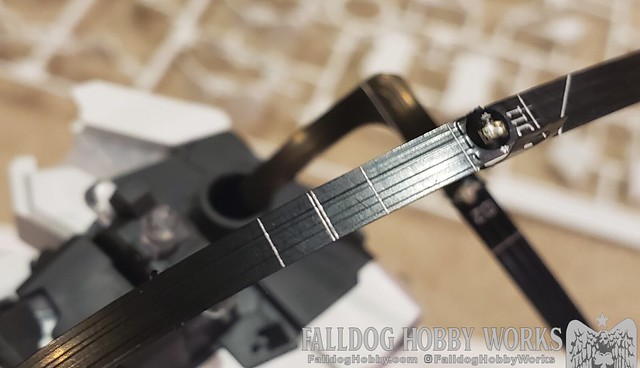
Over the course of the build the manual's perspective shifts can be quite disorienting. One needs to pay attention to the orientation of the parts as pictured, and when it comes to the wiring harness, follow arrows that dictate how it should be twisted and folded. I imagine this is what advanced origami instructions are like. Thankfully Bandai found an amazingly simple way to guide this process - lines on the harness. These lines indicate where to fold, single and double stroke marks depending on the desired direction. They also play a crucial role in delineating where along the harness these folds are supposed to take place in relation to the kit’s pieces.
It gets better as things progress, but there are other annoyances like on the legs where you assemble the thigh and knee, connected to the torso via the wiring harness, but with no mechanical connection until you add the outer armor a few steps later. You’re essentially holding two pieces in place and building around the wiring at the same time. It was a very WTF moment on the first leg, but was a lot easier with the second. I recommend getting all the pieces ready for those steps up front, instead of trying to assemble, then go back and get more pieces, then figure out where you were in the prior step. I imagine the whole kit would be a lot easier to build during a second go… And considering they have option parts for the FA attachments on the legs and undergating for the Phenex (though they won’t be 100% hidden), I expect to build more variants in the future.
My biggest advice: slow down and take your time. Pay close attention to the guide. You can speed run the build once you’ve done one to get all the nuances of the harness positioning down.
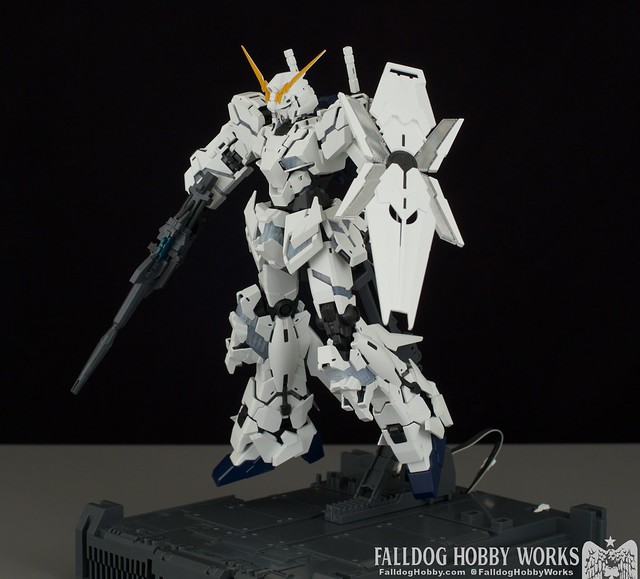
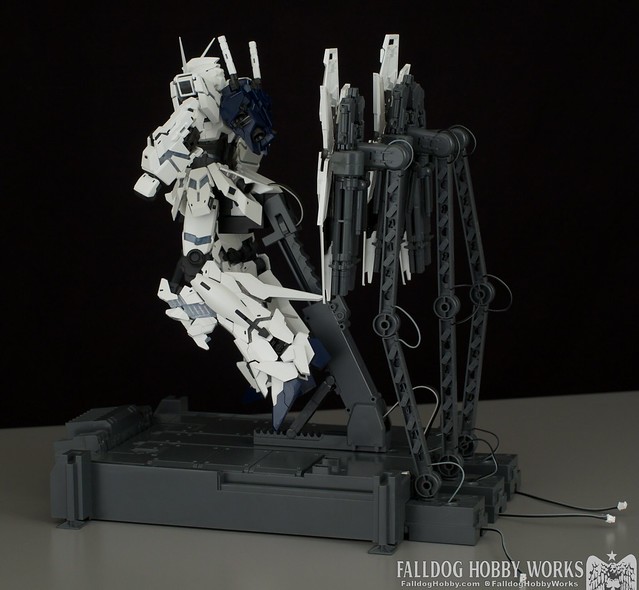
As with everything else the base is a nice evolution of the PG/RG TWC, combining a hidden power brick with the MS cage originally released in 2010. The cage also moves forward and back to give different display options with how you mount the kit's stand. (Side note, I was never a big of the MS cage. While I used it in one of my builds, the railing on the arms look more like something you’d find in a bag of Chex Mix than an actual railing.) The base platform has multiple slots where the stand can be placed, allowing for different depths to be used, and a full 365 degree rotation. The downside is that the base is deep, just over 8 inches, longer if you stuff the shield bases in. Takes up a lot of shelf real estate, which in my case, is already at San Francisco levels of population density.
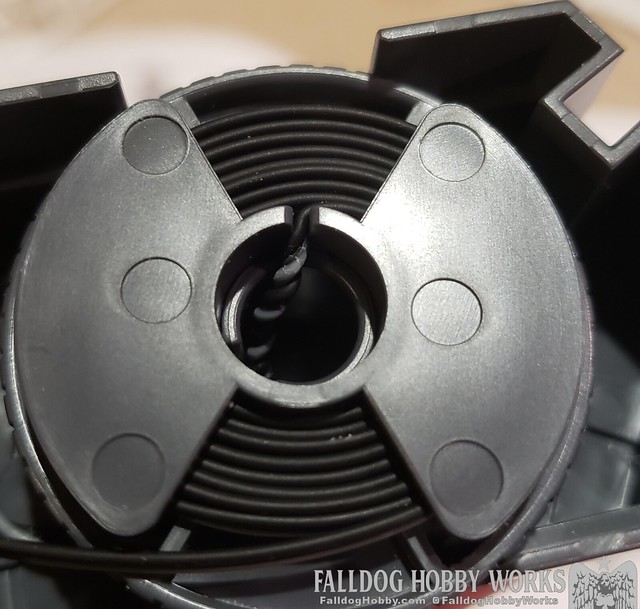
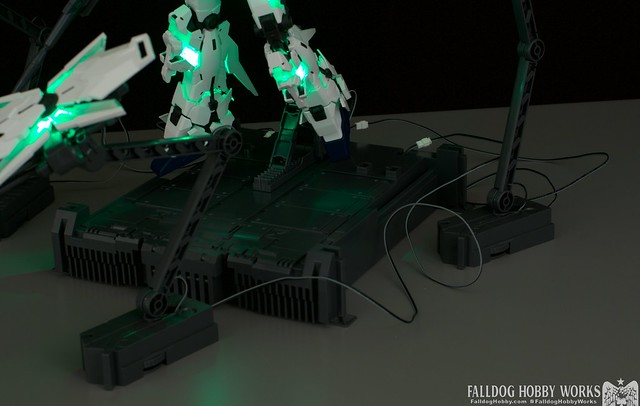
The arms that the shields attach to are an interesting bit. It’s a really simple design, an arm with a couple points of articulation, a LED and mount point at the top, and a multi-duty base. Saddly no yaw to the shield pivot. The base does a couple things, first it provides a steady base for each of the three shields to be moved independently, and they combine and allow for the three shields to be mounted together in their combined shield format. There’s very long cable coming from the main base to the shields, and the cable can be spun around in the bottom of the shield bases when not in use. There are a couple of issues here though.
First being that the cable management device acts like a spool, so you can spin it and wind up/unwind the cable. It’s not supposed to be used that way though. Doing so will cause the connection wire to the stand to twist up potentially damaging the cable. Intended use is to pull out the spool a little bit and manually wrap/unwrap the cable. The stands are also designed to slot in the back of the main base for storage… but why? If you do that you can’t see the shields (when the hanger bits are on), they stick out the back in an ugly fashion, and the cable connections don’t even line up as if they would for a proper permanent display. You’re better off just putting them in a box if not in use.
I also wish Bandai had added more weight to the base. For the most part the sands do a good job holding up the shields, but when equipped with the gatling guns, it's essential to make sure the center of gravity is directly over the center of the base. Lastly, there’s only a green LED at the top of the stand. Yes, I get that in the show they’re only shown flying around when the pyscho-frame is green, but come on Bandai, why not just put a red LED in there too for folks who prefer the red pyscho-frame?
Don't do this
Can't stop the cables, Mal
This is how Bandai would have you store the shields
There's no light in the shield itself, but is carried through a clear plastic piece. When ont he arm, it grabs it through a special piece with a hole where the saber mount goes. It's not as effective as the closer mounted LEDs on the stands
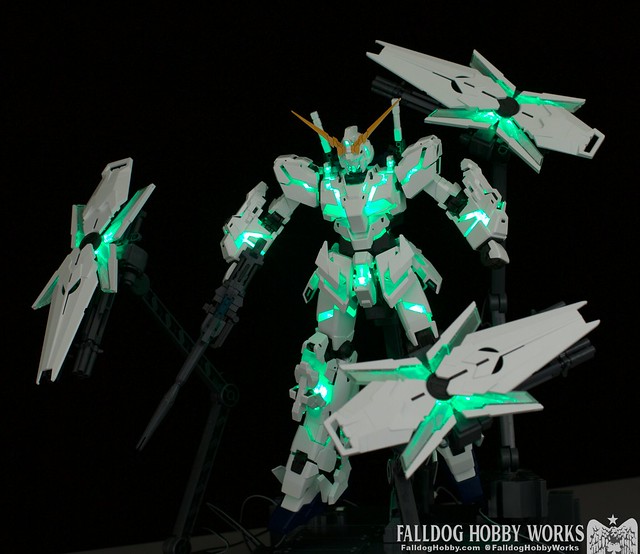
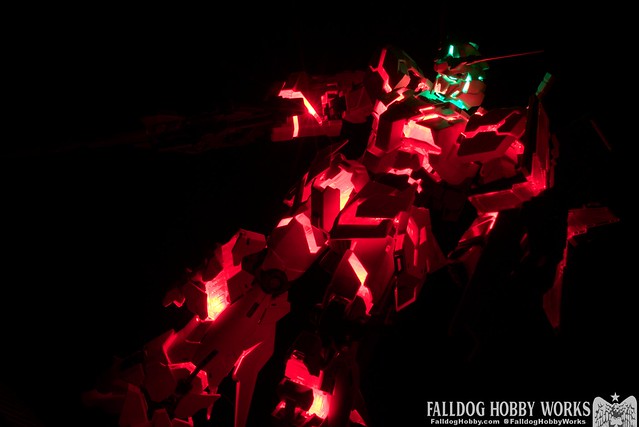
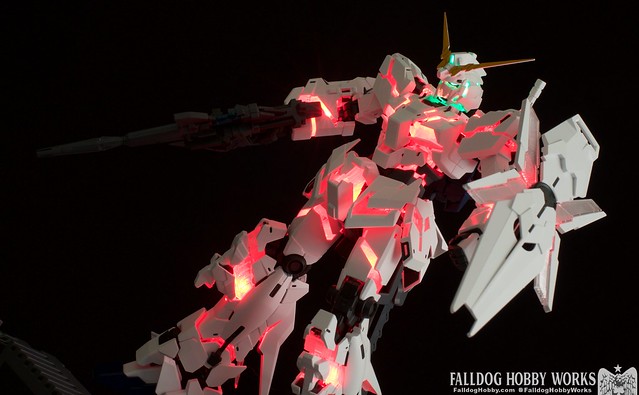
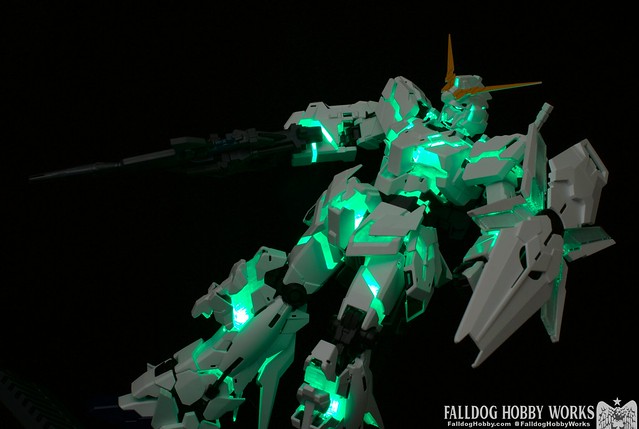
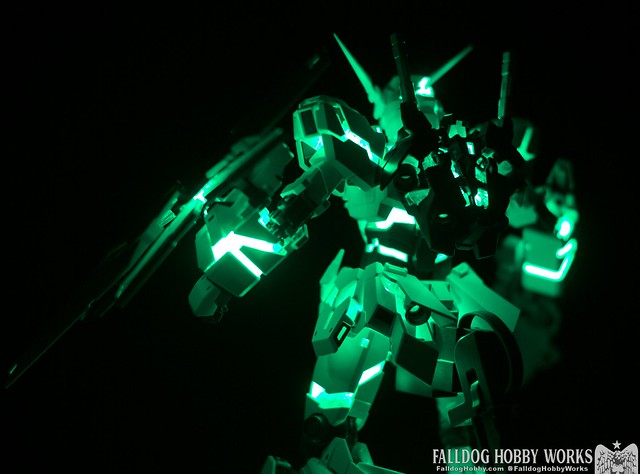
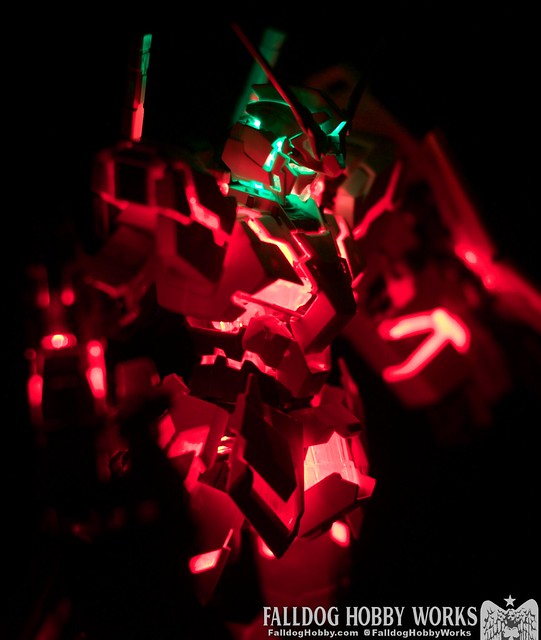
Speaking of LEDs, there’s four modes. Push the button once and the head lights up. Push the mode a second time and the head lights up, followed by the red psycho-frame. Push the button a third time and then the same happens, but this time it’s green and the green LEDs for the shield come on as well. Push the button a fourth time and you get the whole process from start to finish over the course of a few minutes. In each mode the pyscho-frame has a nice pulse of brightness that comes and goes. Frankly I wish it was like the RG and each push of the button jumped right into turning the LEDs on. Turning on the head, then waiting for a few seconds for the pyscho-frame to light up is an annoyance, albeit a very minor one.
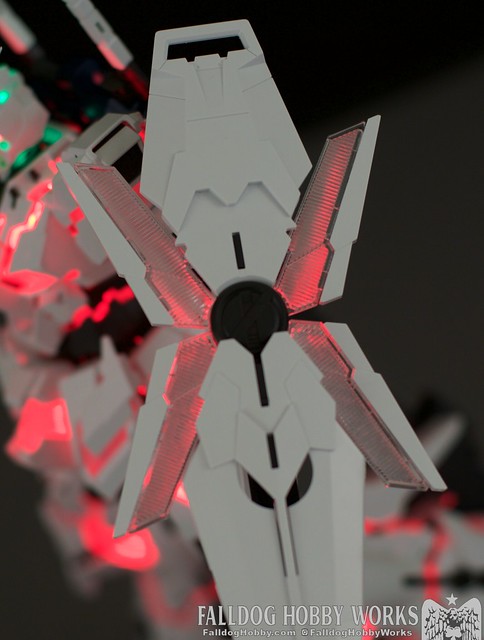
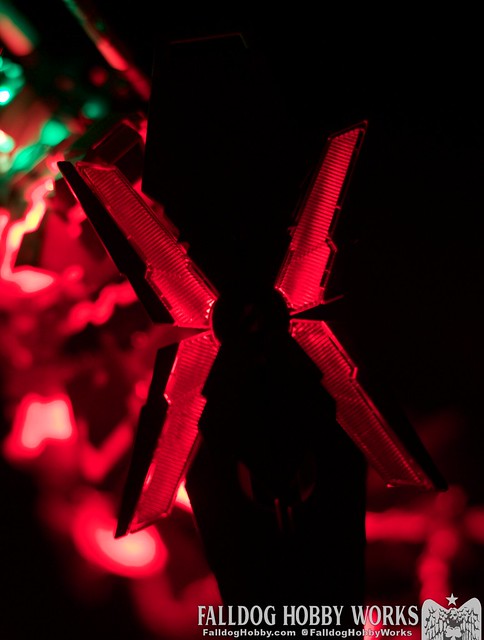
It’s hard to capture the proper look of the LEDs in photos. In a lot of photos it looks like the light is bleeding through the plastic. This isn’t the case. With how bright they are, and all the angles in the clear plastic bits, the light just sort of spills out. Since quite a few areas are lit from the back via clear pieces, that same light reflects back out and off other white areas of the kit. The head is a key example of this. As the main frame of the head is clear, the light used in the eyes just spills down through the clear pieces onto the neck area. Take note, folks going to paint the kit, this is an area of the clear frame you will want to paint. Second, because it is so bright, the tendency is for many cameras on auto to overexpose. On my phone at least I had to step down the exposure to really capture it accurately. My DSLR/Aperature isn't the best at contrasting bright areas either. There's a lot of depth to the pyscho-frame that I just can't get photos of convey.
Having painted many Unicorn kits over the years there are a few things I look for that delineate a regular build from a top notch one. The little details that often get missed. No, I'm not going to tell you, incase I ever get asked to be a World Cup judge (Bandai plz). I will say one thing I’ll be looking for on pro builds is whether or not the inner bits of the armor are painted a dark colour. Not to stop light from bleeding through, but to stop the spillage.
There are a few other minor issues, such as the corner bits on the shoulder armor. Like the PG they just slide up and down. Unlike the PG they’re fairly loose and the track short, so you can only move them upward so much before they just fall off. The kit also comes with stickers for the horns, and no single piece V horn, which I guess doesn’t matter that much. At least it comes with a set of gold and yellow stickers so you can choose the look you prefer the most (yellow > gold, fight me). There’s also a looseness to the torso, and the stomach piece has popped off once or twice, that makes me think I messed something up during assembly.
One last minor issue I have is that a few exposed psycho-frame pieces are clear plastic. Keep in mind there are two types of clear plastic used in this kit, crystal clear ones and the ones with a frosted appearance. For the most part the crystal clear parts are used to move light around the internal workings, while the frosted ones are exposed. That is, except for a few parts, like the flap at the bottom of the back leg. Damn it, Bandai, would it kill you to be consistent?
It wouldn’t be a proper Unicorn release without finishing the kit and finding you have 68 gatling guns to assemble from 85 individual parts. Thus, in the tradition that started with the original MG, it’s always best to build the weapons first and get that out of the way.
Oh, did I mention that these come with the MG 3.0 hands? And the MG 3.0 hands are the most rubbish of all the MG hands? Thankfully there’s formed closed fist and trigger grip option for each instead.
Wrapping things up
When you get down to it, the MGEX is the ultimate form of the Unicorn model kit. It is built upon many of the lessons learned since the first Unicorn kit was released, and the lessons learned over a decade of general model craft. At times it’s a big pain in the banana to build, but the end result is oh, so satisfying.
As with every other ship of the class I’m sure we’ll see tons of great painted builds. One thing I love about the Unicorn line is the plethora of opportunities they provide. Me? I've painted so many I'm not sure what else I can do to give this a 'traditional' look without just ripping myself off. I'm also hesitant to disassemble this kit not knowing how much wear the wiring can take.
I realize that this late in the article I haven't really discussed the whole MGEX concept. Will there be more Extreme *guitar riff* kits? If this sells well, I would assume so. Clearly this is a line for Bandai to push the limits of what they can do in the 1/100 scale. But what next? MGEX Exia is the obvious answer, if only because they can take the same LED tech and model it after the recent PG. With the popularity of SEED kits, it would make sense to have a SEED kit up next. Does that need LEDs thought? Maybe the extreme *guitar riff* will come from posability, sound effects, an even more elaborate hanger setup? Maybe the MG Virtue will actually be a MGEX, complete with light up cannons and a way to pose the kit as the armor explodes off to become Nadleeh? Ah, whom and I kidding, we all know it's going to be another damned RX-78-2 based off the "walking" statue.
Question I have, are we done with the Unicorn? Well we need a MGEX Banshee, then a Phenex, then the inevitable Perfectability once Bandai needs a quick cash infusion. But, that’s it? Right? Short of making the 1:1 statue move like the new RX, where do we go from here?

