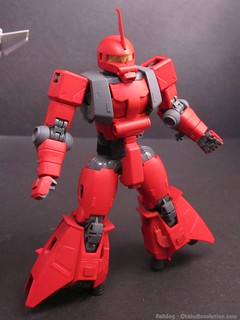
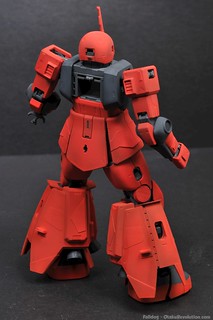
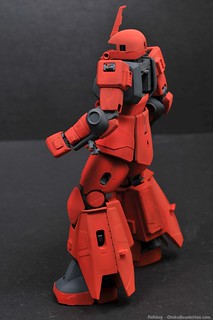
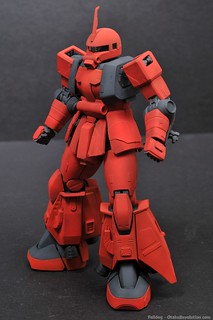
I haven't been taking a break from modeling as much as slowly destroying one of the best kits Bandai has ever released, the Master Grade Zaku II 2.0. This one, specifically, is a Johnny Ridden version that's been in various stages of completion since at least 2010. Just recently I decided it would be the perfect sacrifice for practicing new techniques and generating new tutorials. It was recently the testbed for The Army Painter primers, pla plating, option parts, and now, pre-shading.
Pre-shading, from what I understand, should be the easiest shit in the world. Though my first attempt was a complete disaster. There's a bit of finess required, which I didn't have. I also went way too strong with the shading colour which only served to pronounce the issues. That and I'm pretty sure trying to pre-shade against red was never going to look good in the first place.
Take a look...
Primer testing...
That's how she looked after some The Army Painter red primer.
After the shading...
And that's after the pre-shading. I went really thick in areas because I wasn't used to doing thin lines. I too often vered from the edges I wanted to do or sprayed down too wide of a line.
After two coats of paint...
I should've taken two photos, one after the first coat and the above after the second coat. The first didn't really make the lines a subtle as I would've liked. They were big and obvious and all of my flaws showed up. In my research some folks like the big and obvious lines but that's not really my style so I went put down a second coat of paint down. While it definitely looks better the poor lining up front has obviously lead to inconsistent and messy looking shading.
I'm pretty sure what I need to do is A) not shade like a douche and B) use a more similar colour. I'll be trying again in a bit using a proper kit so fingers crossed I won't fuck that one up too. :)

