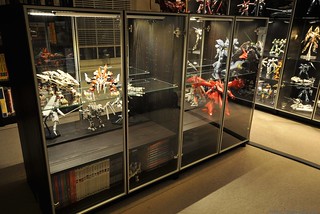
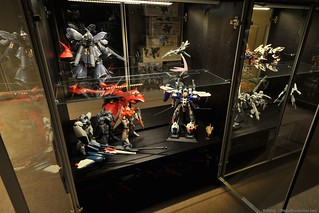
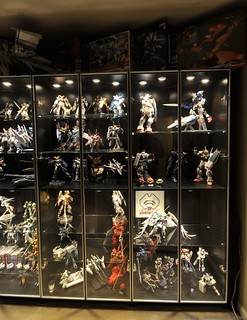
Despite building some big and pretty display cases a year or so back for my Gunpla collection, the obsession means that new kits come in hardly ever go out. Well, I am trying to curate my curate my collection by having distinct collections within the overall collection but that'll only limit growth so far. I'm just thankful I haven't gone nuts over the MG Wing series... though this year I've gotten into HMM Zoids and an assortment of Ligers sure require a lot of shelf space (two to three MGs worth). So, where to put them? Well my existing cases were already bursting at the seams and I've got a few key pieces that I hope to add later this year. The layout of the room doesn't really allow for more full height cases without being to obstructionist and the center of the room is nothing but dead space. The solution? Fill that space!
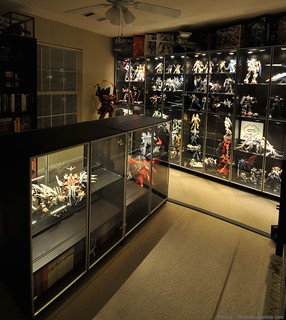
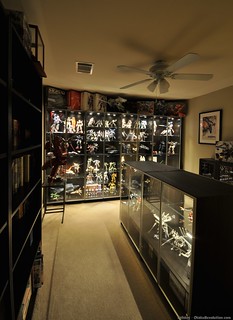
Easier said than done, at least initially. Most stand-alone display cases that would fit are for retail use. They're generally both ugly and stupid expensive. Even the least expensive ones hurt the wallet after shipping comes into play. After a lot of research I fell back on the folks I got the original cases from, Ikea and their Billy bookshelves. After reviewing all the options I decided to take four half-height bookshelves and put pairs back-to-back.
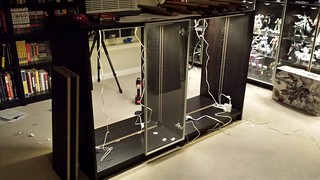
Many Ikea products lack structural rigidity and their Billy bookcases are the same way. They help hold their shape thanks to a backing board which I didn't want to use. If they're going in the center of the room I might as well let light and sight go all the way through. To replace that structural component, and actually increase stability all around, I got some metal brackets from the local hardware store, some screws, and painted them all black so they would blend in with the fake wood. It ended up working out really well, those four little ones are now more stable and more square than the big ones installed with just Ikea hardware.
The Inventory (essentially the same as my larger cases, just different models)...
Billy Bookcase - $60 each
Morliden Glass Doors - $35 each
Glass Shelves - $10 each
Inreda Lights - $25 each (plus power and connecting cables)
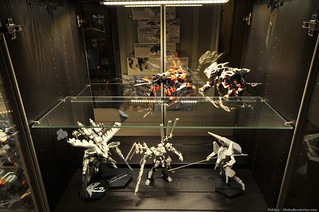
For the lights I decided to try a different set than the Inreda puck lights I've used up till now. Ikea also makes a set of Inreda LED bars that are a bit easier to install. At half the cost of the puck lights, which would've cost me over $200 just for the four new cabinets, they made more economic sense. They work great in this application but I'm not sure they'd do too well in my tall cases. The light comes out at an angle which is good for a pair of shelves but I couldn't see it covering the lowest level too well. The lack of a backing board alows everything to be lit really well, benefiting from two solid light sources.
All the cables fit perfectly in the groove left over from not putting in the backing board. Everything was then masked with black tape and all the LED driver boxes & connecting cables fit in the little space normally reserved for wall trim boards underneath the units.
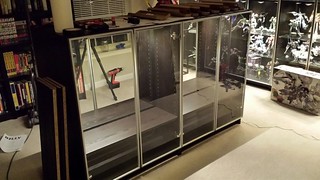
The glass door installation and gap removal using weather stripping was the same as before. Unfortunately after I installed them and got them as lined up as possible I discovered Ikea changed how their glass shelves are held into place. The ones I used previously were just glass shelves sitting on rubber covered pegs. What they've done now is create a peg with a slot in it which the glass shelf slides into. You then tighten from the bottom with a plastic & rubber screw. Great for holding the shelves in place but that means one has slide the shelves in straight, not drop them into place at an angle. Once the doors are on they don't open outward enough to allow a shelf to slide in straight. Instead of taking the doors off I just staggered the shelves dropped them in from the rear, then slid them in. I sort of like the staggered look and it gives me a mix of heights to mess with. Unfortunately this new system means that adjusting shelves on a whim is a lot more difficult. If you're going to follow in my footsteps, plan your shelf height layout before you put 'em in or before you even put on the doors.
Pictures
I haven't taken a whole lot of pictures, partially because they're still mostly empty. I imagine later this year I'll take updated photos once I've worked through my unbuilt backlog.
Everything coming together...
Once the cords had been cleaned up.
Lots of room for Zoids.
Hmmm... what's going in those spaces you ask?
I didn't want to run the power under the carpet so I just got one of those floor cable cover things.
Maybe now I'll finish that Noblesse Oblige.
Auto white ballance doesn't work too well with the warm LED lights.

