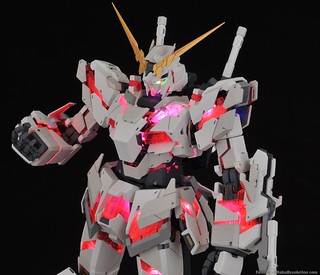
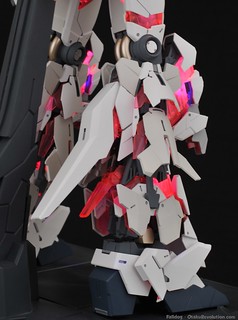
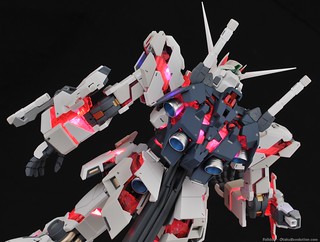
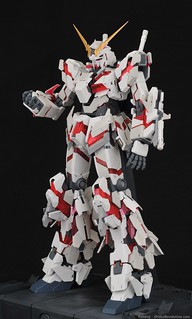
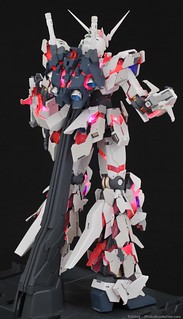
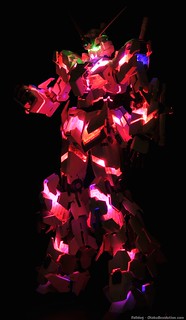
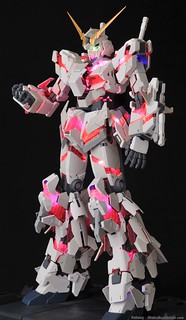
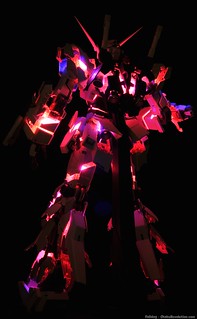
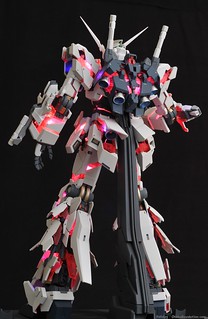
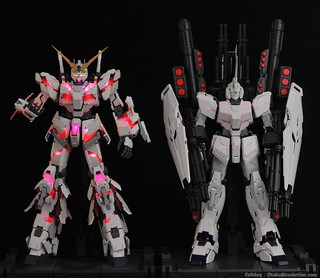
Last weekend I started out on an ambitious build. Well, the build itself wasn't so nuts, the time frame was. The goal was to build a PG Unicorn in one week. Here's how things turned out...
So why only a week? It didn't start off that way. Up until now it's been awhile since I've painted a kit. Lots of straight builds, but nothing since I finished my White Glint back in January. I've been trying to decide which kit I should do a simple job with, just to scrape off some of the rust, when I wound up with a second PG Unicorn. As I was thinking about how to paint it, figuring I'd get it knocked out relatively quickly, another project landed in my lap. With two kits I wanted to get done in short time, and a schedule conducive to tackling the Unicorn, I figured I'd try a super quick build. That eventually morphed into a weekend-to-weekend build, then into a Sunday-to-Saturday express build from hell.
Okay, maybe it wasn't a build from hell, but it was certainly grueling. The PG Unicorn isn't exactly a hard kit to build, plus I'm so familiar with the design that I know where most pieces go without having to reference the manual. It's a lot of pieces though, and a lot of those have very fine details which I'm not particularly skilled painting. Not only are they pretty small, but they've got two layers to them. Thus most of the pieces have two-toned details to them. For the most part they turned out okay, but there are a bunch that, on any other build, I would've redone. Knowing me though, I could've spent months on them without getting them perfect enough.
Due in part to my lack of skill, and due in part to the rush job, there are a few pieces on this kit that need a repaint. Two armor pieces saw the top coat pool and yellow slightly (wtf), a third I fucked up the detailing and botched the cover up job, and a fourth I accidentally scratched during the build and completely ruined trying to fix after it was already integrated into the kit. The base also got jacked up, in part because I painted and dull coated it before the main assembly which resulted in the feet scraping up the top coat. Moral of the story, don't rush painted builds!
I used a total of 13 different paints on this build including Model Master Flat Acrylic for the top coat.
- Krylon Gray Primer
- Tamiya XF-63 German Gray
- Tamiya AS-8 Navy Blue (decanted)
- Tamiya AS-20 Insignia White (decanted)
- Tamiya X-2 White
- Tamiya XF-19 Sky Gray
- Tamiya X-12 Goldleaf
- Tamiya X-31 Titan Gold
- Tamiya XF-6 Copper
- Tamiya X-11 Chrome Silver
- Valspar Brilliant Metal Chrome
- Tamiya X-23 Clear Blue
- Tamiya TS-30 Silver Leaf
The gold on the inner frame didn't show up quite like I had anticipated, masked a bit two short on some parts, but the rest came out really well. At first I thought the copper pieces would be too garish but they look great against the red psycho frame and off-white details. Painting whole knee and elbow joints wasn't the brightest idea. On my first build I hadn't realized how tightly those parts fit. Add paint to the mix and I had to use a hammer to get the parts together.
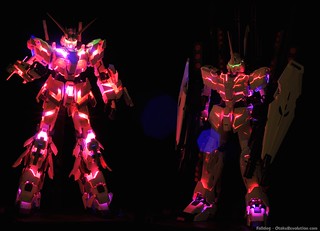
For those who haven't built the PG Unicorn, I think it's a great kit. A fairly easy build with lots of detailing an colour potential. It's pretty similar to the MG but there are enough changes and improvements to make it a worthy kit. The only thing I've had problems with is the head assembly, there's just one piece that never goes on as easily as the guide would suggest. I did do this kit up with the LED set, and didn't have any issues until I accidentally cut a cable for one of the arms. Between how thing those cables are, and how the kit isn't generally lit up until you're done with assembly, I'm lucky the issue wasn't much worse. Pro-tip: Constantly check the LEDs during assembly to make sure they're inserted the right way and you haven't jacked up the cables. Because of cabling issue the run for one of the arms isn't as neat as it should be and one of the back armor pieces isn't fully seated (the cable is now slightly shorter than it needs to be). The other side isn't well done because by that point of the final assembly I had been building for 12+ hours.
In the end, not my best achievement from a technical prospective. Yet, I'm pretty pleased with myself for having built, painted, and detailed a Perfect Grade kit in a week. All things considered, it turned out pretty will I think. Plus there's something to be said for conquering such a challenge.

