
Layman's Gunpla Guide - Kit Photography Tutorial
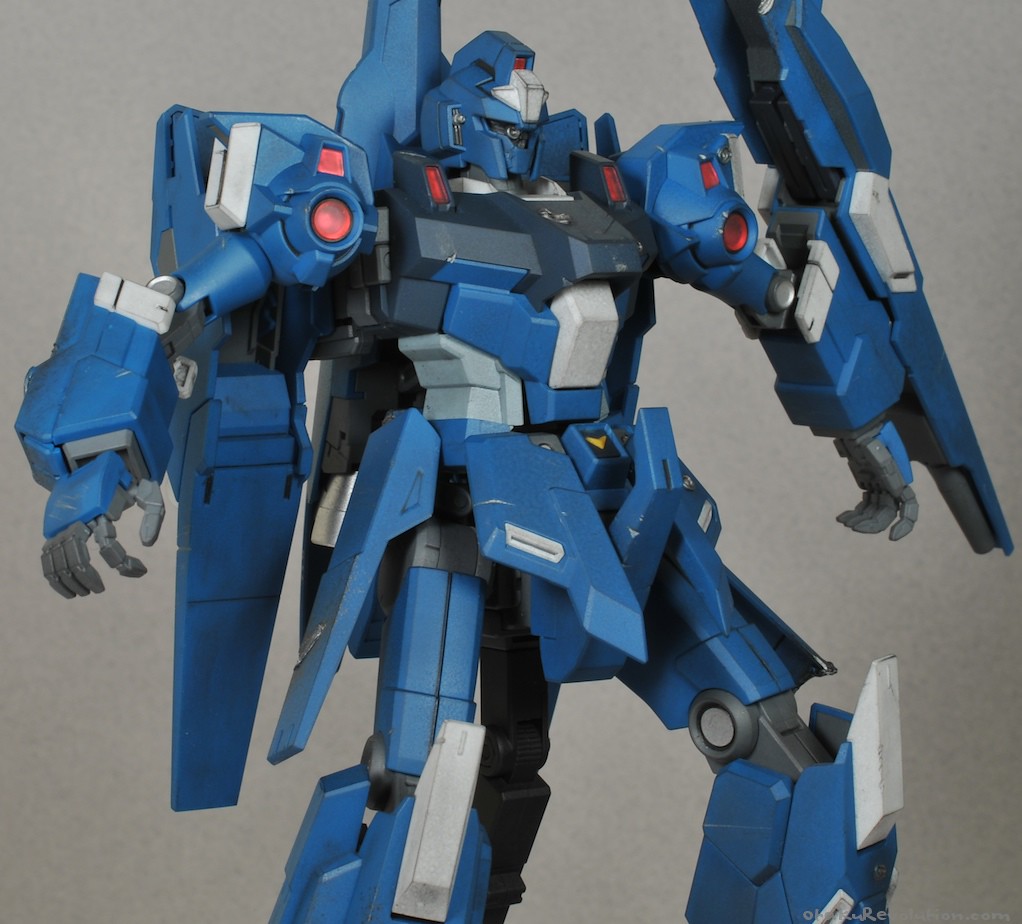
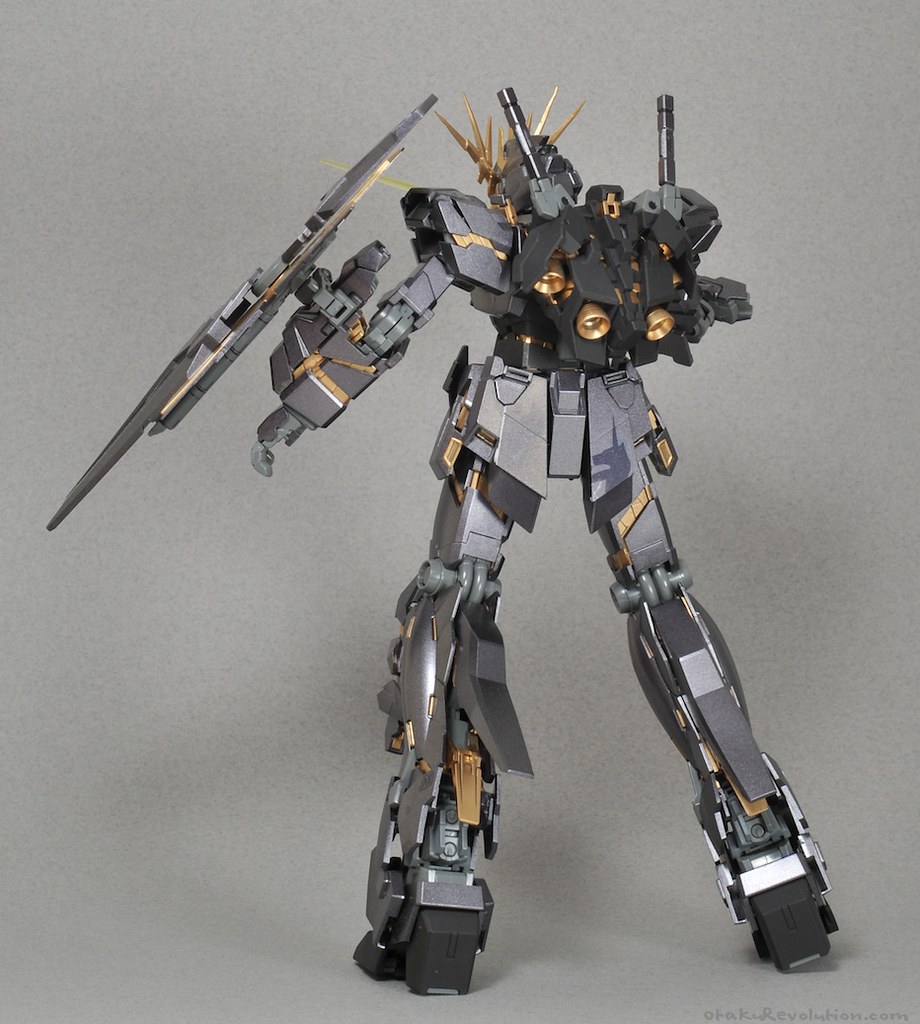
After all that work, cutting, building, priming, painting, lining decals, weathering, and the top coat, you're all done. Before you stands the latest addition to your collection. There's only one thing left to do, and that's show it off. Now you can't exactly go traveling the country randomly presenting it to passing strangers (well, if you really wanted to...) so you whip out your camera and snap a few shots. While everyone does kits their own way I feel that getting proper photos should be important whether it's a straight build or plethora of pla plate craftsmanship. Don't let anyone fool you, a $80 point and shoot will perform just as admirably as a $2000 DSLR when it comes to this task. Here a are a few basic tips to get you started...
Use a Tripod
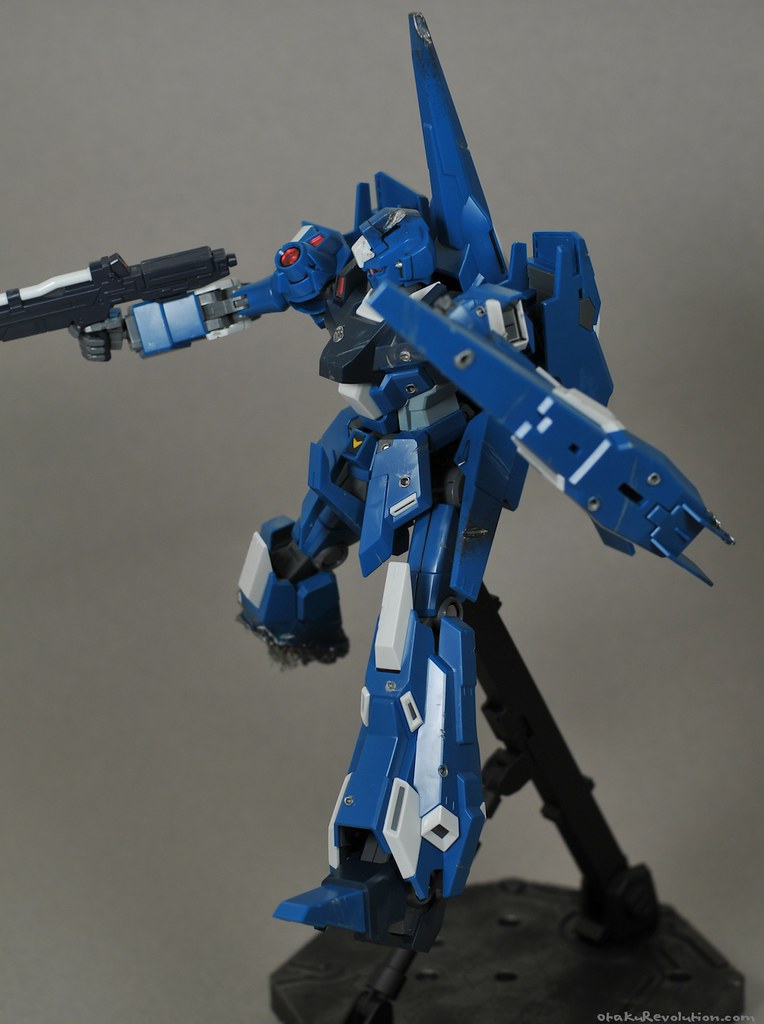
I often see photos suffering from blur. When shots are blurry it's hard to see the details and properly appreciate the work being presented. There are two common issues for blurry photos and the first is a result of a slow shutter speed. Aside from adjusting your shutter speed you can alleviate the effect by utilizing a tripod. One can find cheap, regular sized tripods for $20 and mini travel sized ones for less than $10. With your camera attached to one you eliminate any natural body shake. If you don't want to pick up a tripod try setting your camera on a solid surface, such as a stack of books, or increasing the points of your body supporting the camera. The vibrations recorded while a camera is held at arms length are considerably larger than a camera supported by two elbows on a sturdy surface.
In addition consider using your camera's timer feature. Most cameras come with one these days. Letting a couple seconds pass between pressing the shutter and the actual exposure can make a big difference. Many tripods and mounts shift a tiny bit but will settle before the picture is taken.


Recent Comments