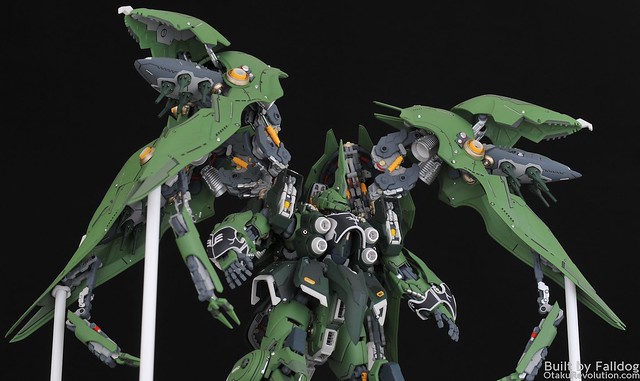
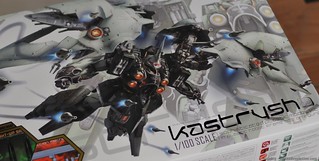
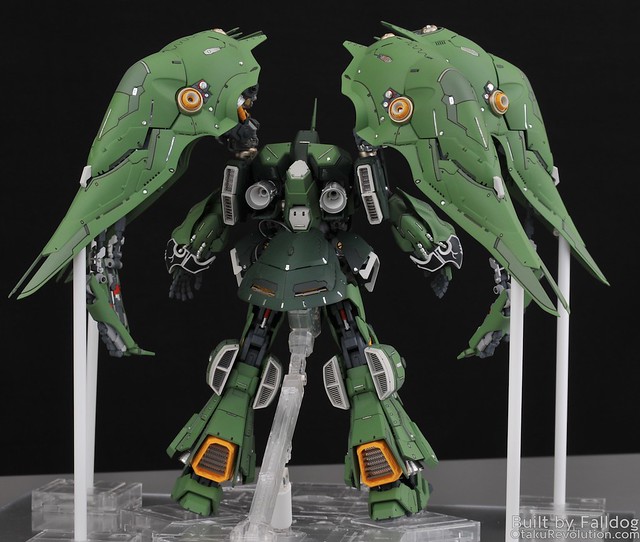
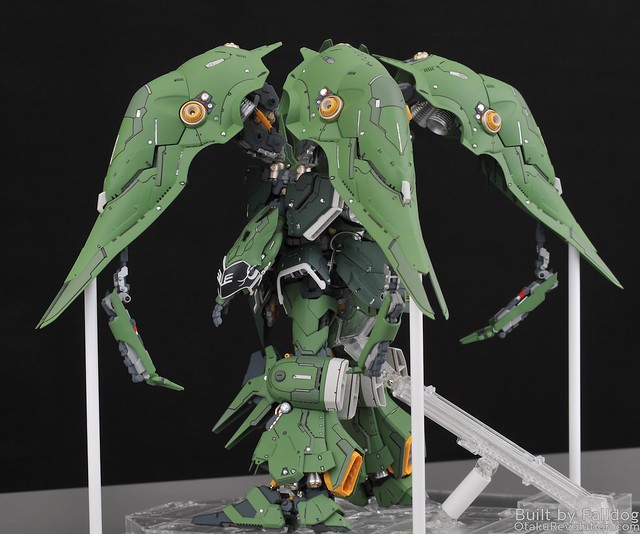
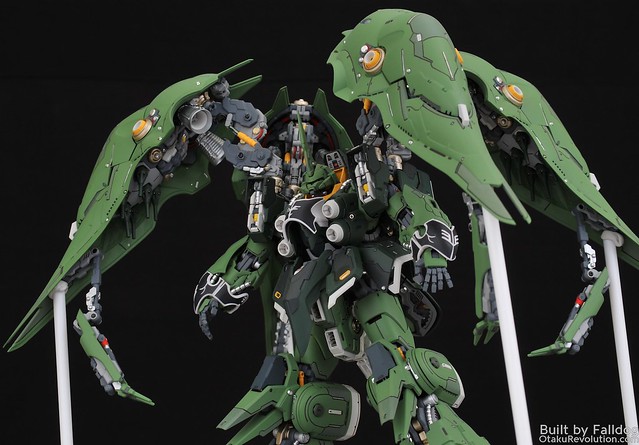
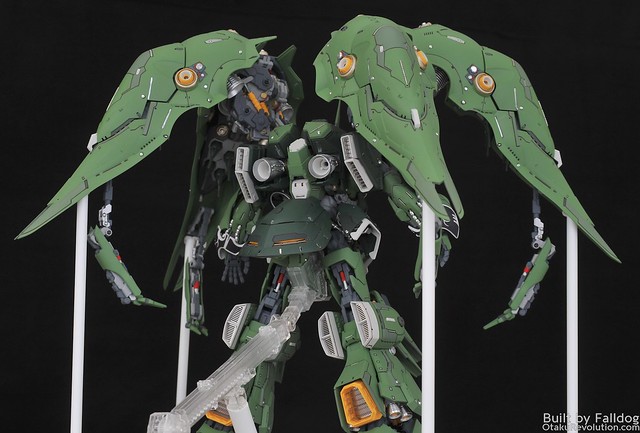
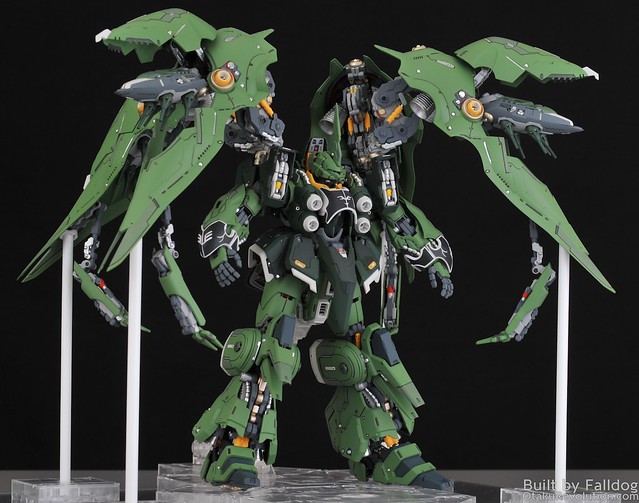
Welcome to my end-of-build write up for the 1/100 Elyn Hobby Kshatriya. I'm going to spend quite a bit of time talking about the kit and the build so if you're just interested in pretty pictures you're more than welcome to scroll down toward the end of this article.
Elyn Hobby Kshatriya, what's that?
It's perhaps the most ambitious, and disastrous first model release from a company ever.
A few years back Elyn Hobby released a 1/100 scale model of the NZ-666 Kshatriya from Gundam Unicorn. A bootleg out of China, it was very hard to acquire both due to its price tag and, from what I've heard, legal action from Bandai preventing distribution outside of the country. It may be 1/100 in scale but it's more of a Perfect Grade kit than a Master Grade. With well over 1300 pieces (if the guide is to be believed) the kit comes with photo etched metal details, metal stickers, regular ol' decals, plenty of metal detailing parts, and an extensive LED system.
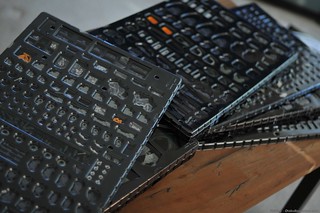
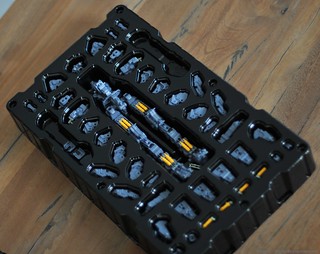
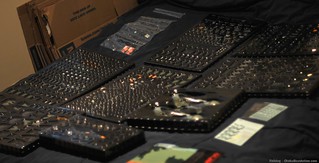
Perhaps what made this release so unique was that every piece came removed from its runner and in plastic trays. While the trays were marked with a letter, the piece numbers were not. During construction, if you needed piece D 30, you'd have to sort through all the pieces in the D tray until you found the one that matched the one indicated in the construction manual. In quite a few instances pieces aren't readily identifiable because there's a lot more to a 3D piece than a single 2D depiction can provide. In most cases quite a bit of searching, and some sloothing, is required to identify what you're looking for.
This model has a notoriously bad reputation for having shipped with wrong and missing pieces. Mine was no different, although I was lucky that the stuff I had wrong/missing wasn't critical to the construction of the kit. At least, as far as I'm aware. It would explain some poly cap issues I'll get into later.
The instruction manual has its own share of issues. In addition to be being absolutely wrong in a few areas, it lacks a lot of the detail and instruction on how to assemble complex pieces that're common place in Bandai manuals. Elyn's manual assumes the person working on the kit has a high skill level and can fill in everything they leave out, such as how many times to build a piece.
Like the manual, the pieces themselves left a lot to be desired. Bandai, the best comparison point to Elyn Hobby, spends a lot of time making sure that their molds are damned nice. Extensive energy is spent ensuring proper tolerances and that any machine marks in the molds are removed prior to pressing. Not the case here. There were machine marks all over the place, mold seam lines on the smaller kits, and flashing issues on 90% of the kit. Nearly every piece in this project had to be sanded, primed, and painted, with at least one repaint due to quality issues not readily identifiable before paint.
A good portion of the pieces, let's call it a third, don't really fit all that well together. Quite a bit of sanding and trimming was done just to get things together in a reasonable fashion. Quite a few areas, especially on the frame, had to be glued and clamped to get a tight fit.
Factory nub removal was also inconsistent, sometimes they took so much off to leave a pit in the plastic, other times there was no removal at all.
Once you get past the poor quality of the pieces the biggest issue are the LEDs. Elyn almost got this right, if only they their planned designs lined up with the engineering aspirations. Many of the LEDs and wiring featured heat wrapping longer connections that weren't accounted for in the design. Only a bare minimum of wire pathways was implemented, and if you're only looking at the manual, you'd never know they provided any path for the wires at all.
This discrepancy between design and final product is clearly evident in the internal frame of the kit. It comes preassmebled like a Kotobukiya Frame Arms kit, along with a bunch of extra pieces. At a few points you're instructed to disassemble the frame and insert or remove pieces. Some of the pieces that came assembled never make it into the kit. There are a bunch of other ones that will never get used and in one instance the manual tells you to install a piece that can't possibly work with the following steps/assembly.
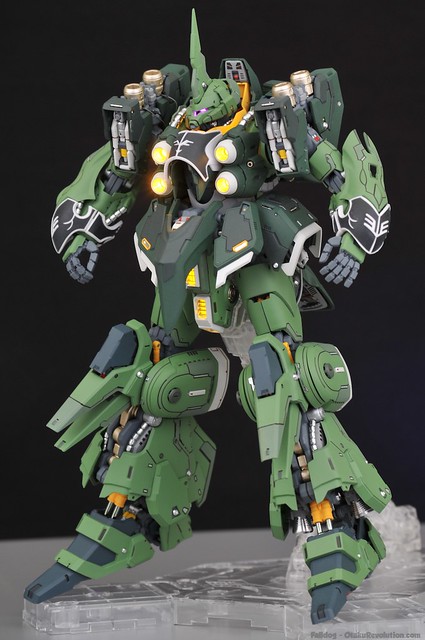
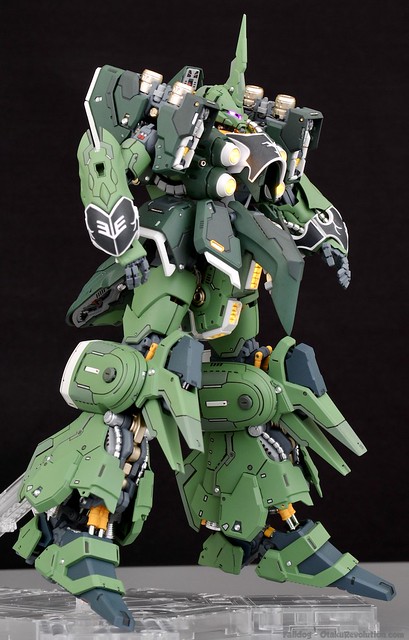
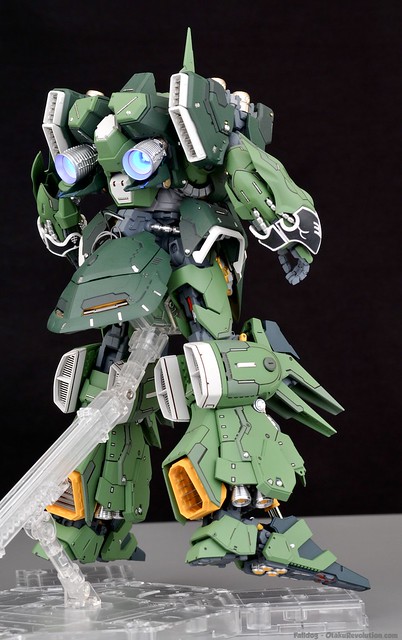
Still interested? Well, the actual design of the kit is pretty phenomenal. From a looks prospective that is. I somewhat doubt Elyn came up with the design themselves, as there's a 1/72 G-Systems resin version out there. Either way, it looks phenomenal. The details are abundant, the proportions perfect, an all around great take on the on original Kshatriya design. Good luck finding one though, it's rare to see one on eBay and your best bet is finding someone looking to ditch this anchor. That's how I came about mine not to long ago.
Falldog's Kshatriya - Build Details
When I first started this project I wasn't sure whether I wanted to do a clean build or something weathered. Most of the finished Elyn Kshatriyas I've seen out there are weathered, which makes sense. Not only does it look great on this kit but it serves to mask a lot of the kit's flaws. Instead I decided to go for a clean build, something I'm better at anyway. For awhile I was thinking about doing the kit in a nice lime green but decided against it after a few paint tests. There are just so many little sections already present on the kit that leave it screaming for a multi-tone job. Lime green is going to have to wait until Bandai releases the RE Kshatriya they hinted at (fingers crossed that actually comes to be).
Nearly every piece on this kit is painted in one way or another. The only thing not to get touched were the metallic coated pistons, the yellow parts of the pistons, and the Sleeves details. The latter two were top coated, the yellow pieces unpainted because I would've just painted them again in the same colour.
For the green parts of the kit, which is most of it, I took the light and dark areas, assigned them a colour, then had different sub greens tonal depth. All of the other metallic pieces on the kit were stripped and painted gold or silver. As much as I liked the greenish silver of the factory coat, the paint was too thick for the allowances and the lack of under gating made for some terrible nub marks.
A lot of parts of this kit were hand painted, such as piston details on the frame and 144 separate gold nozzles on the funnels. Nothing like a fine brush, a magnifying glass, and a lot of practice.
Here's the full paint list...
- Krylon Gray Primer
- Model Master 4852 - Green Zinc Chromate
- Tamiya XF-26 - Deep Green
- Tamiya XF-27 - Dark Green
- Tamiya XF-71 - Cockpit Green
- Tamiya XF-65 - Feild Grey
- Tamiya XF-12 - J.N. Green
- Tamiya XF-50 Field Blue
- Tamiya XF-S Sky Grey
- Tamiya AS-20 - Insignia White
- Tamiya XF-63 German Grey
- Tamiya TS-30 - Silver Leaf
- Tamiya X-11 - Chrome Silver
- Tamiya X-12 - Gold Leaf
- Tamiya X-31 - Titan Gold
- Tamiya XF-3 - Flat Yellow
- Tamiya XF-2 - Flat Red
For top coat I used Model Master flat acrylic, Well, more like 4-6 jars of the stuff. I try not to think about how much I spent on paint alone.
Thoughts on the binders and final assembly
In previous WIP updates I wrote quite a bit about how the torso assembly went, and how the leg/waist assembly went, but now I want to take vent a bit about the wing binders. I'm still calling them binders, or wing binders, because I haven't a clue want to call them and have yet to be corrected.
The binders, which should've been the easiest part of the whole build, ended up being the most difficult. When I did the torso and legs as two separate I had plenty of painting clips leftover. When preparing the binders I didn't have enough to handle all the parts at the same time. Not a big deal, but a productivity killer when you've got parts you could be painting but can't.
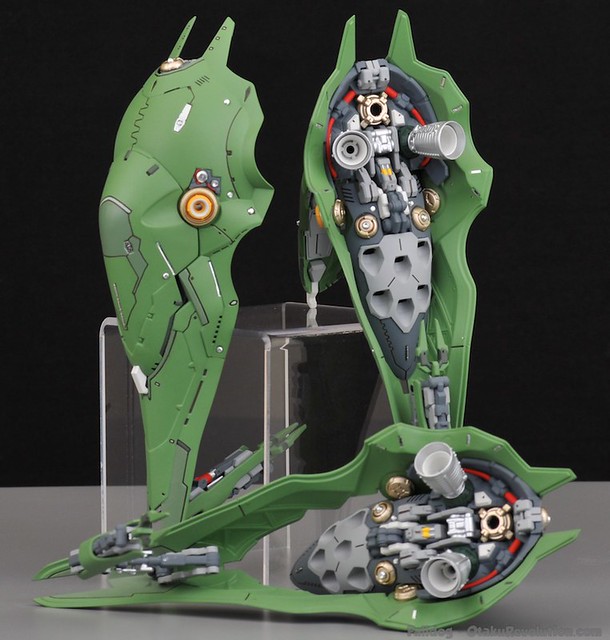
Nearly every part that made up the binders and the connecting arms had some sort of mold issue that needed to be cleaned up. Maybe it was just the number of pieces but it felt like the quality for these components are way worse than experienced up to this point. So much sanding, so much reprime, so much repaint. On the main pieces that make up the binders there were some really obvious seam marks that I did my best to sand away. For the most part they're all cleaned up but there are a few hints here and there that didn't quite shine until I threw on the dull coat.
The middle section's seam lines were particularly egregious, running from about the center toward the tip. Most importantly though, they butted up against a few detail lines. After sanding the detail lines were all but gone so I had to come back and scribe them. I hate scribing. I can't even draw a straight line, let alone cut one into plastic. I know most of the tricks to getting a perfect line but don't have the practice under my belt for them to really help. I ended up free handing them. They look okay I suppose, far from great, but at least better than it would've looked without the supplementary scribing.
Elyn Hobby was kind enough to include, and incorporate, metal stickers into the build. This was the first, and hopefully last, time I'll be using metal stickers. I'm not sure if all metal stickers are made the same, but Elyn's have a top and bottom coating which need to be peeled away. They also seem to stick to everything except painted parts. Getting them from the sheet to the kit was a huge pain. They seem to stay in place just fine assuming it's a flat surface, buf if there's any curve, at least one end will pop away from the kit as though there wasn't a hint of adhesive. You can see them pulling away in a few areas if you look closely enough at the photos. I went through so many extras in a vain attempt to have them all stick in place properly.
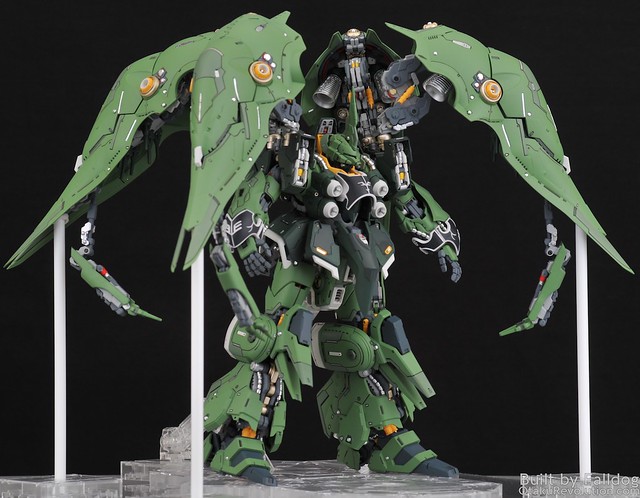
The most frustrating part of the binder construction was not the binders themselves, but the arms that attach them to the rest of the kit. None of the polycap pieces fit well at all. When I say not well, I mean I had to use a fucking wrench to try and get the pieces together and secure around the polycaps. On top of that I had to feed LED wires through areas terribly engineered to support said wires. The entire thing was a complete cluster fuck. If you look at the photos you'll see that they're not really assembled, more so existing in a state of mutual agreement not to collapse outright.
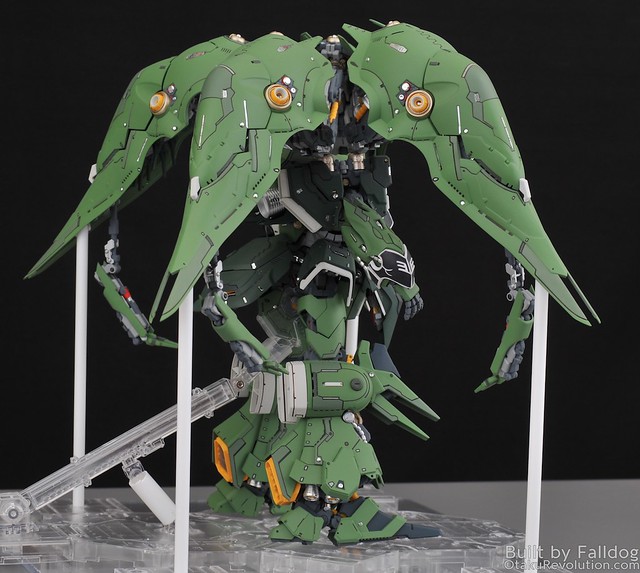
Oh, it gets better. Here's where you find out why I've got white plastic tubes supporting the binders.
The boxy things next to the torso are effectively the shoulder armor on the Kshatriya. On the Elyn, they're screwed into the top of the shoulder and the shoulder attached to the torso with a single measly screw to hold it in place. Not really a big deal until you attach the binders. That means that the arm, the shoulder armor, two separate binders (which are hefty on their own), and the connecting arms are all supported by one single connection to the rest of the body.
When after attaching the binders I looked at the kit from the front and realized that the shoulders, normally vertical, were leaning 5 to 10 degrees away from the kit. The torso was effectively being drawn and quartered (yes, I know quartered isn't the most accurate term to use here). Needless to say, I freaked the fuck out. I was able to stabilize the kit by throwing books under the binders until I could find someone else to support the weight. I could've taken them off but I was worried about putting strain on the already tight connecting arms' connections.
As soon as the hobby shop opened up I rushed in and got myself some plastic tubes which fit perfectly in the round openings of Bandai's MG action base. The other end is up against the claw arm's screw connection with a bit of white poster putty to keep from slipping away. I had hoped to get clear ones but that seems like something I'll have to order online. Eventually I'll grab bigger slab of acrylic and devise new, better looking, stand for the kit.
Thankfully the torso didn't pull apart completely but some damage was done. The LED connection to the left side of the torso no longer functions and parts have separated to such a degree I'm not sure how to fix it without tearing the whole kit apart.
Speaking of poster putty, that's how all of the funnels are held into place. For the life of me I'm not sure how Elyn expected them to be held in place without some sort of modification to the kit.
This kit kicked my ass. It's such a pain in the ass with so many issues that it looks more impressive still in the box. It frustrated me to no end. In the time it took to assemble either the torso, legs, or binders I could have built any Master Grade kit instead. I mentioned that it's good to have at least one kit a year that pushes your boundaries. This did so and then some. Hell, I had an easier time building and painting a Perfect Grade Unicorn in a single week earlier this year.
It's plain to see why Bandai hasn't released a 1/100 Kshatriya yet. The engineering required to support four massive binders would be incredibly expensive to design and produce. If you're still thinking about building yourself one, do yourself a favor and leave out the LEDs. They're more trouble than they're worth. Also, glue everything, specially in the torso.
Now, the moment you've been waiting for... pictures!
Back when all the torso LED lights worked. RIP.
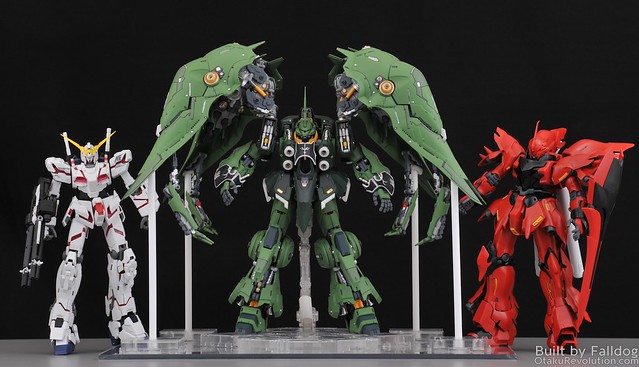
MG Unicorn and Sinanju for scale

